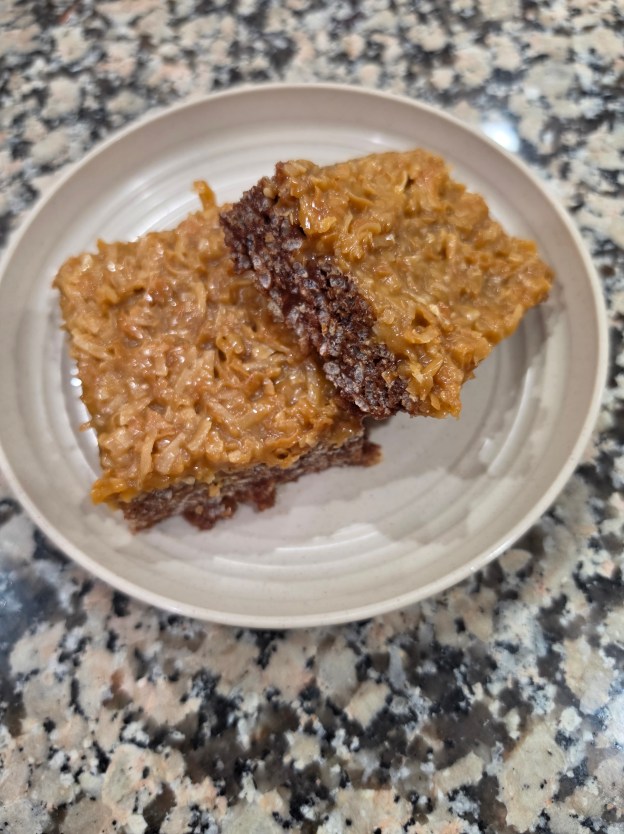
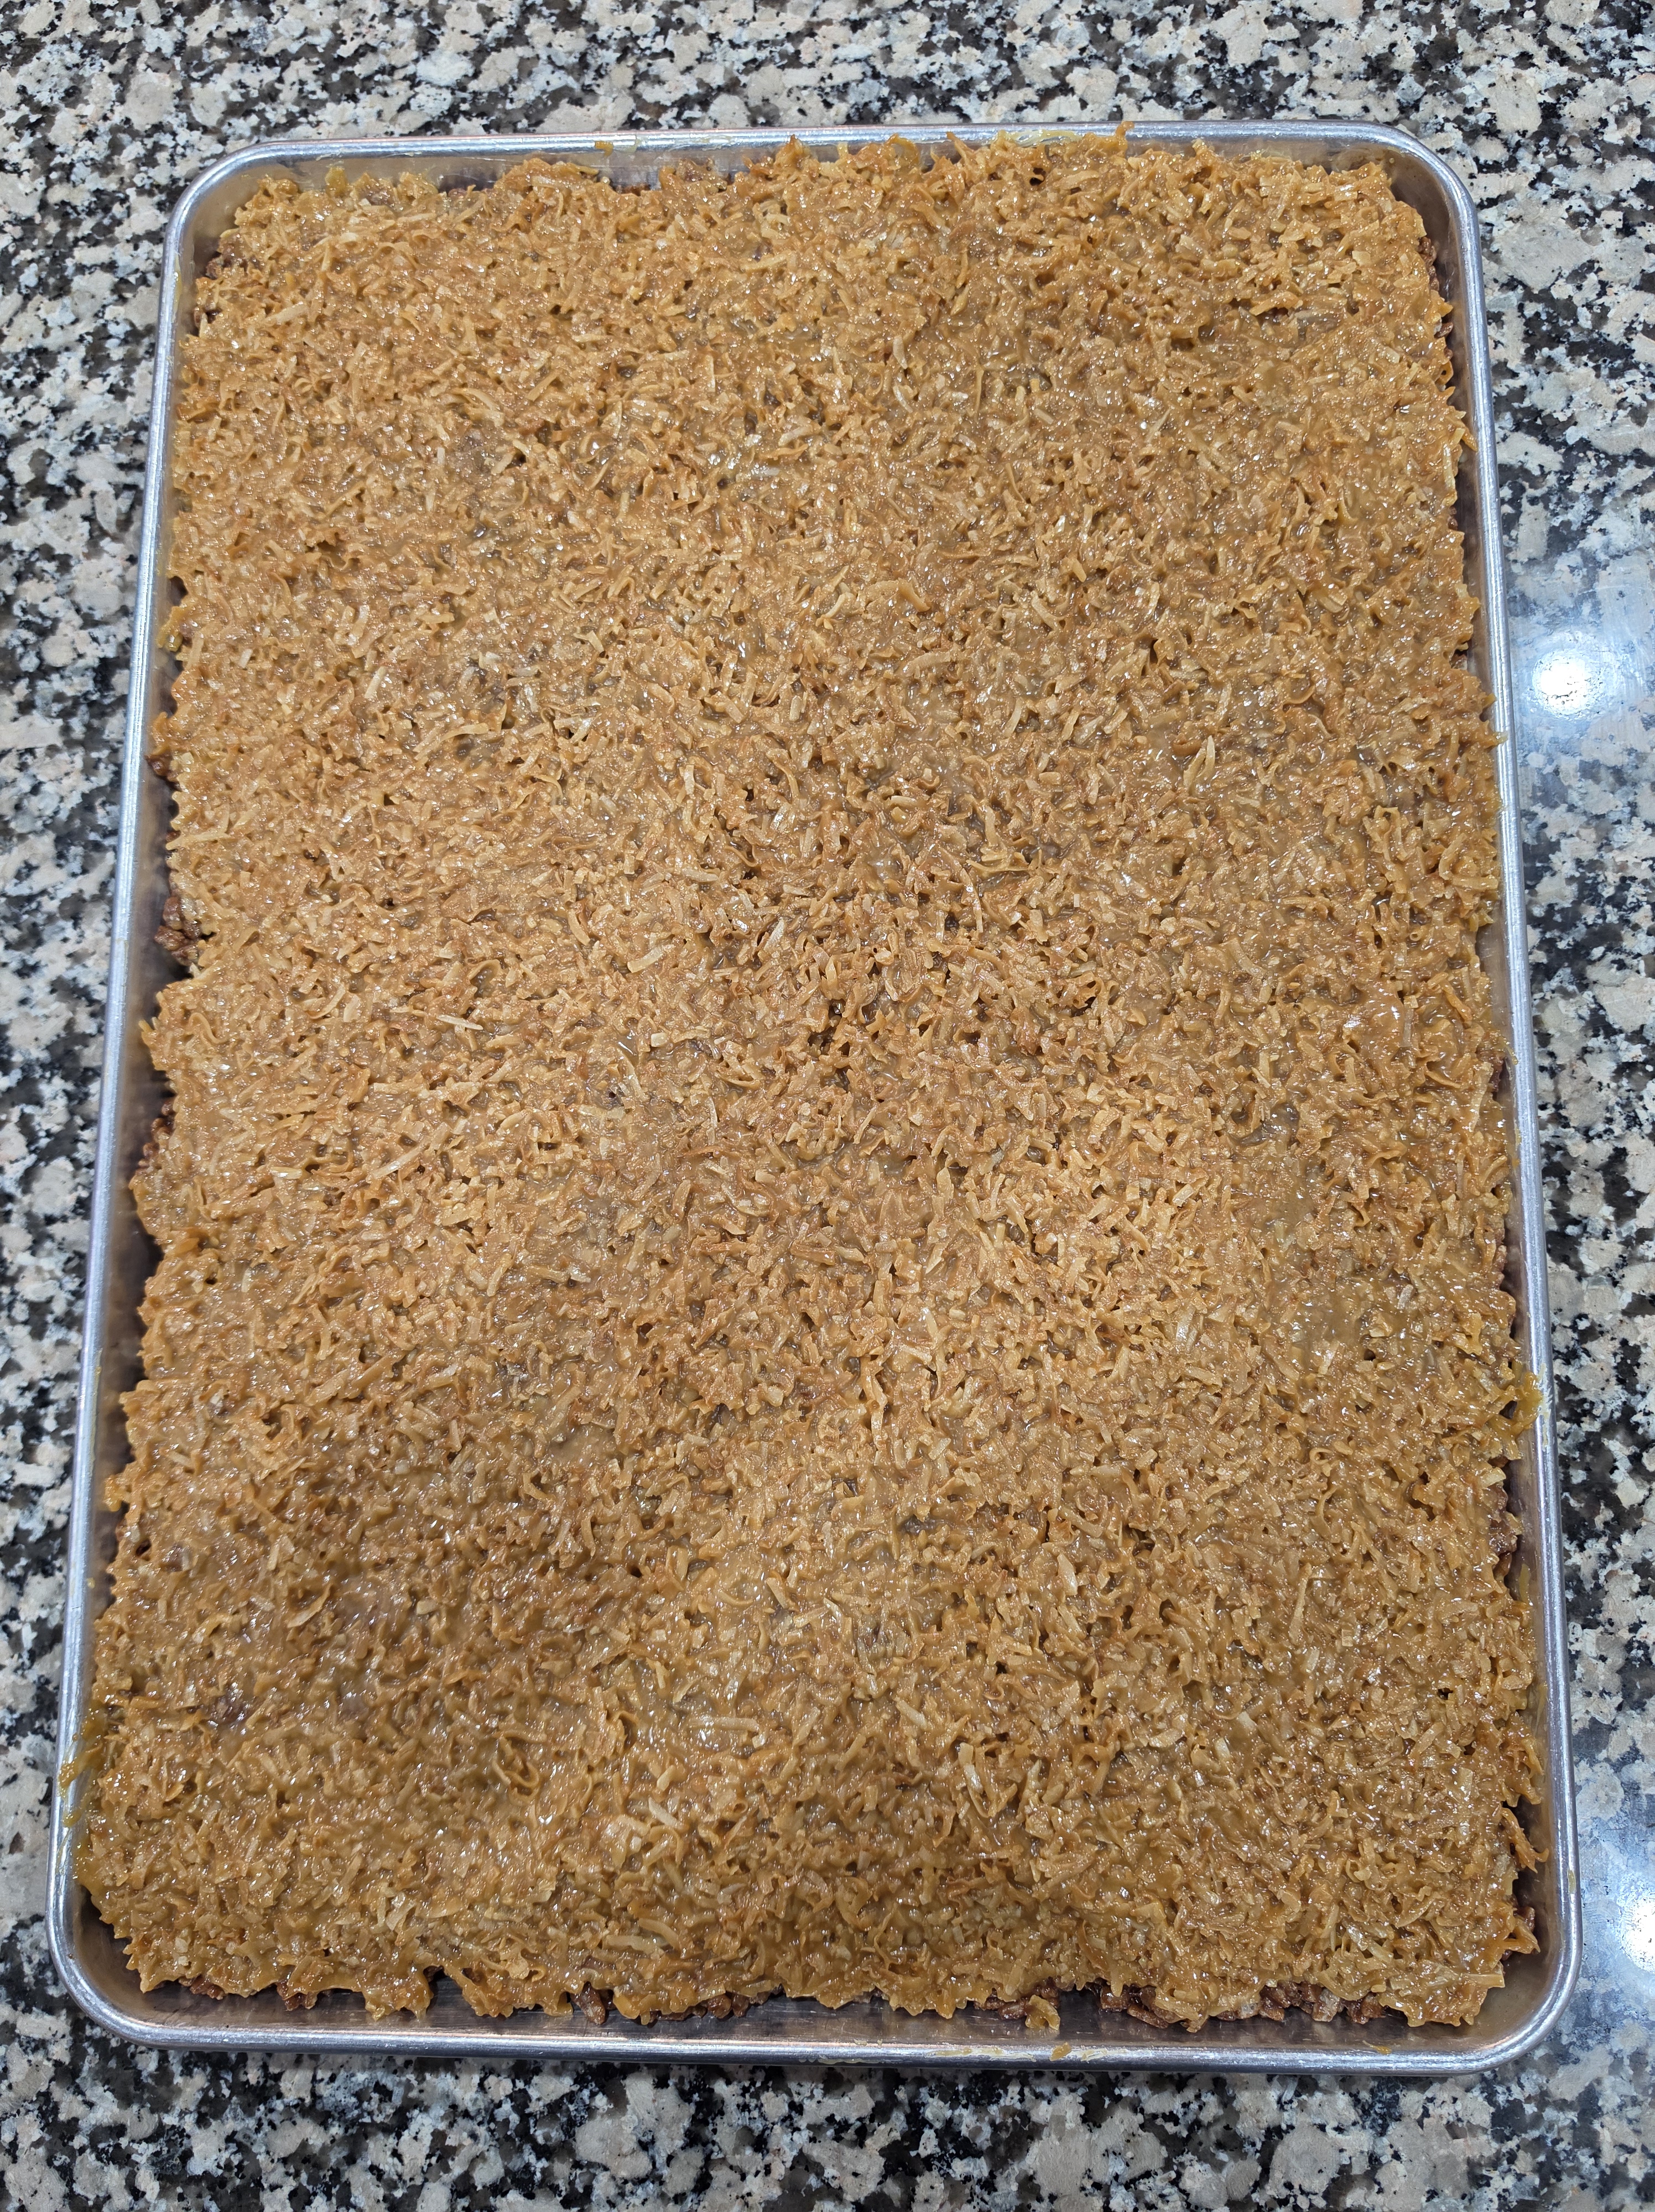
These are a Gluten Free alternative to the Girls Scout Samoa Cookies.
STEP ONE
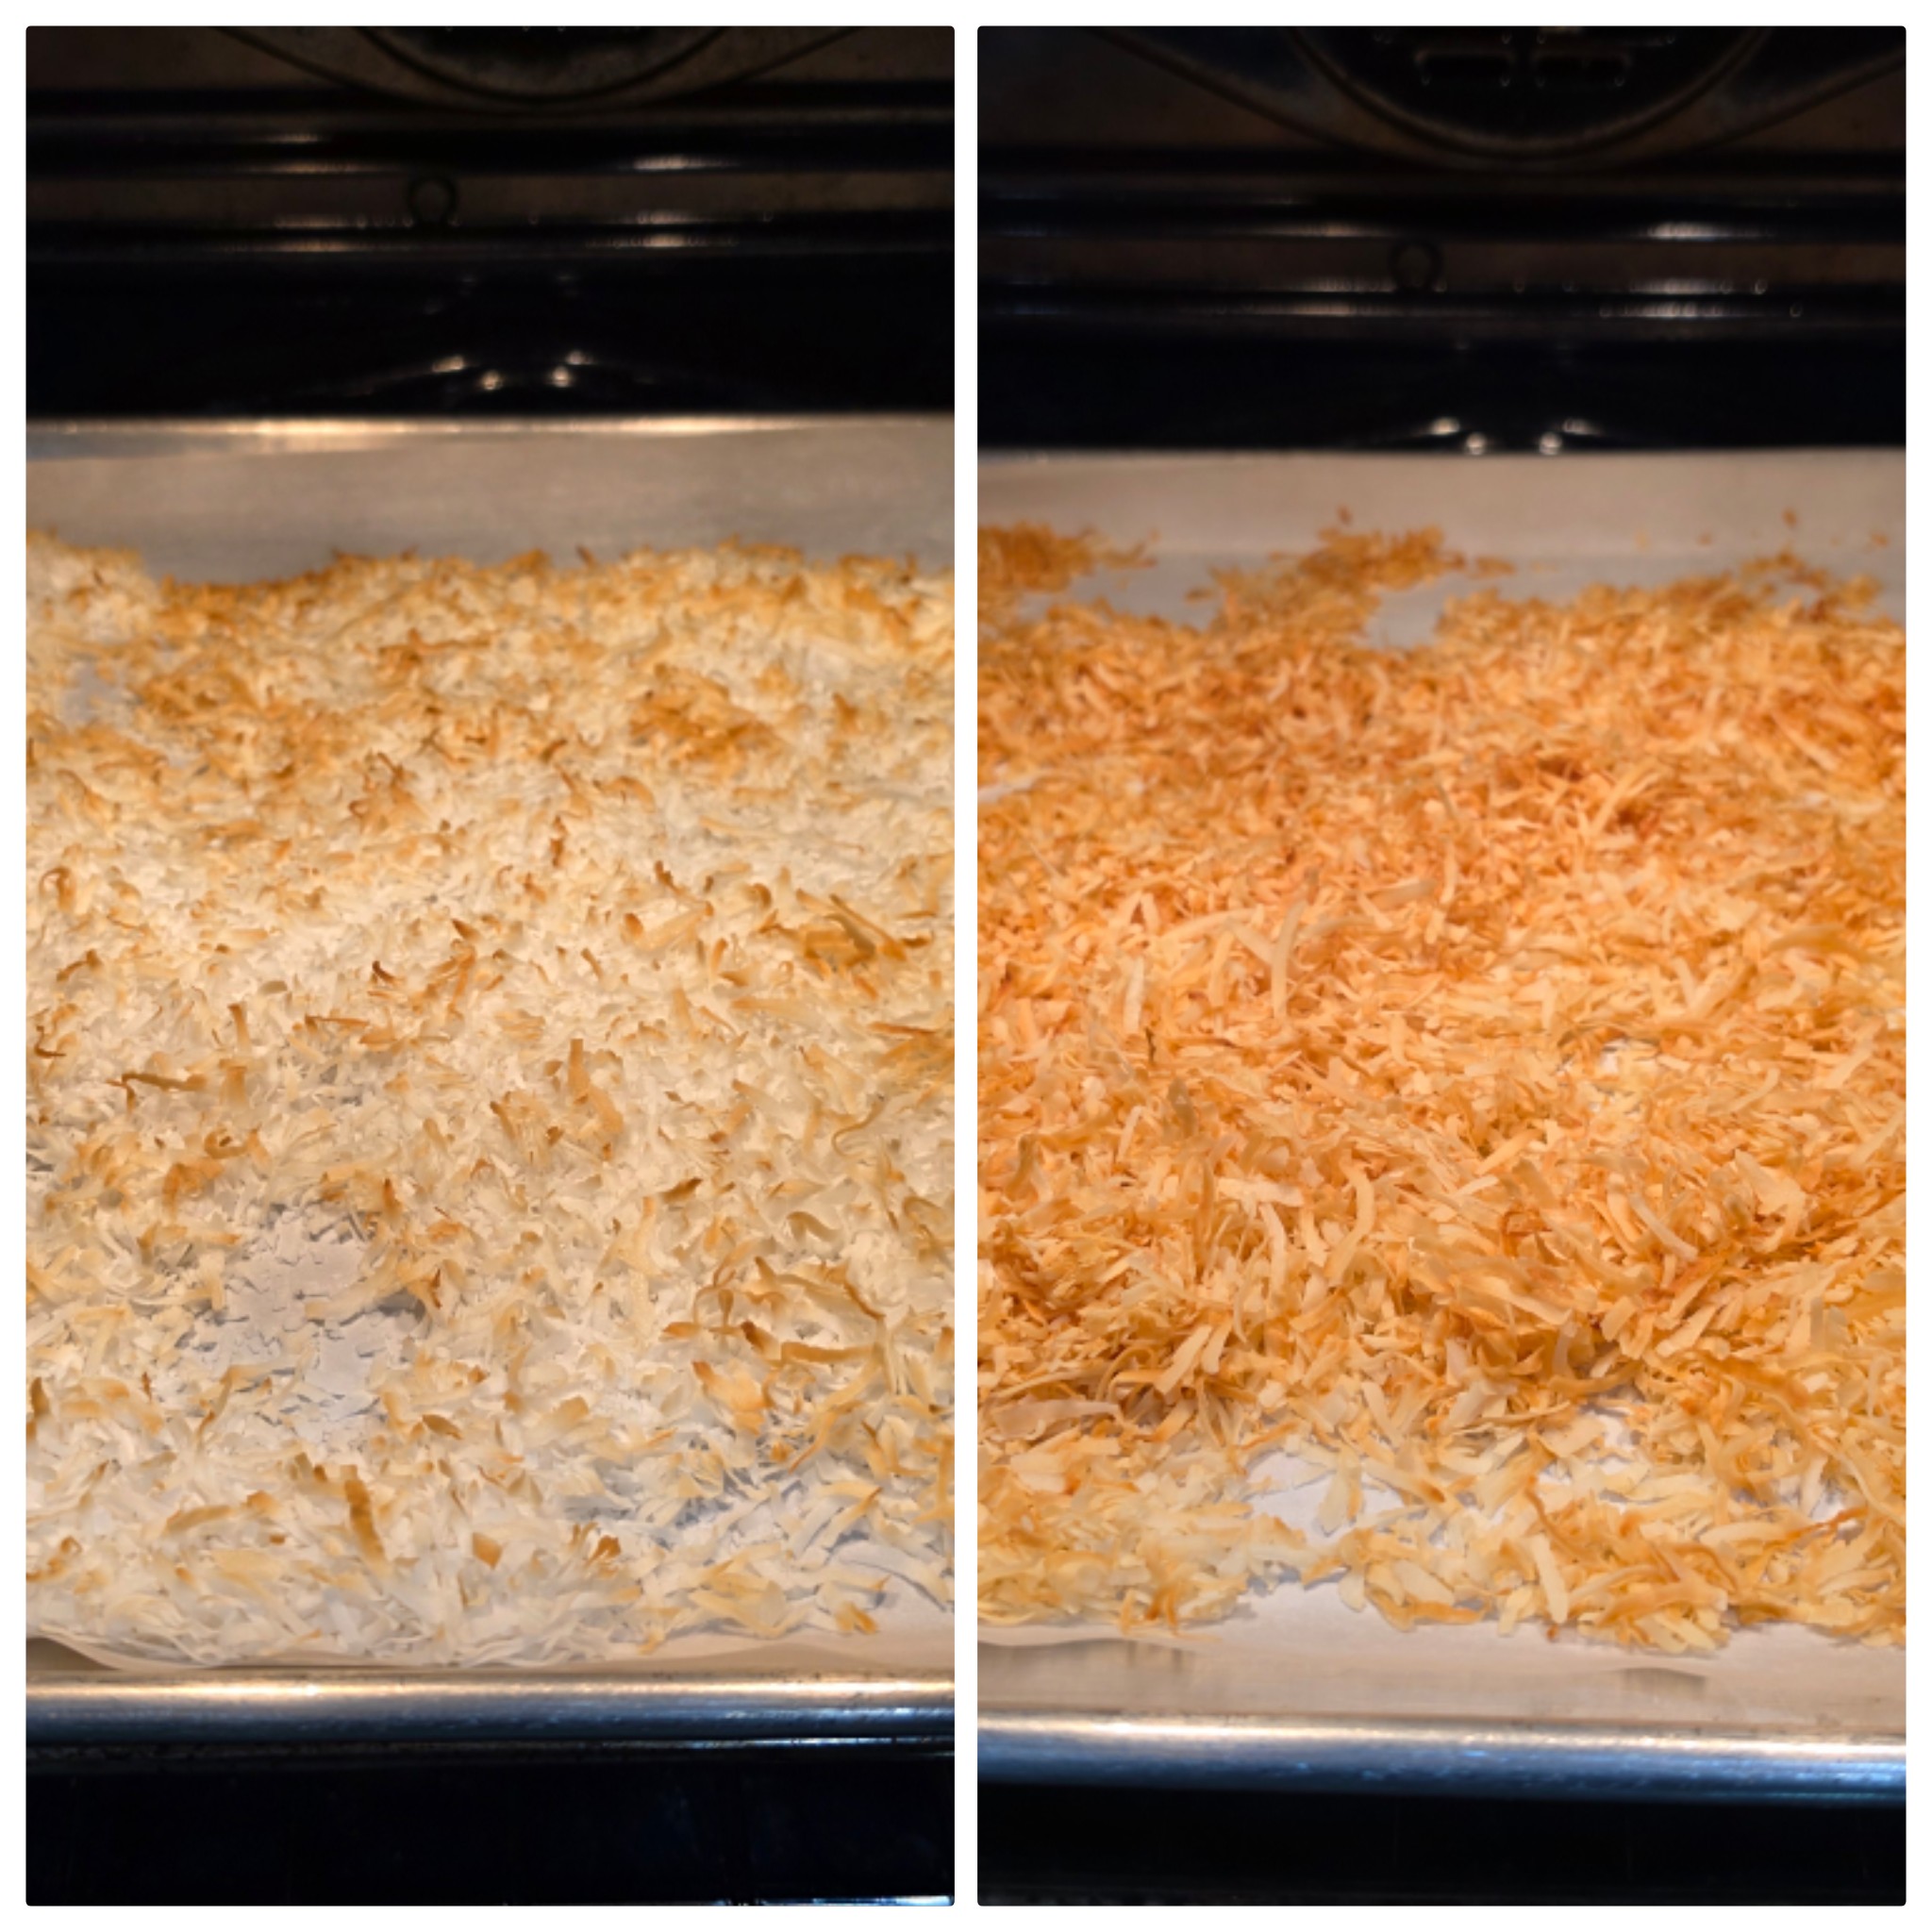
8 oz Unsweetened coconut
Toast on 350 for 10 minutes, stirring occasionally
STEP TWO
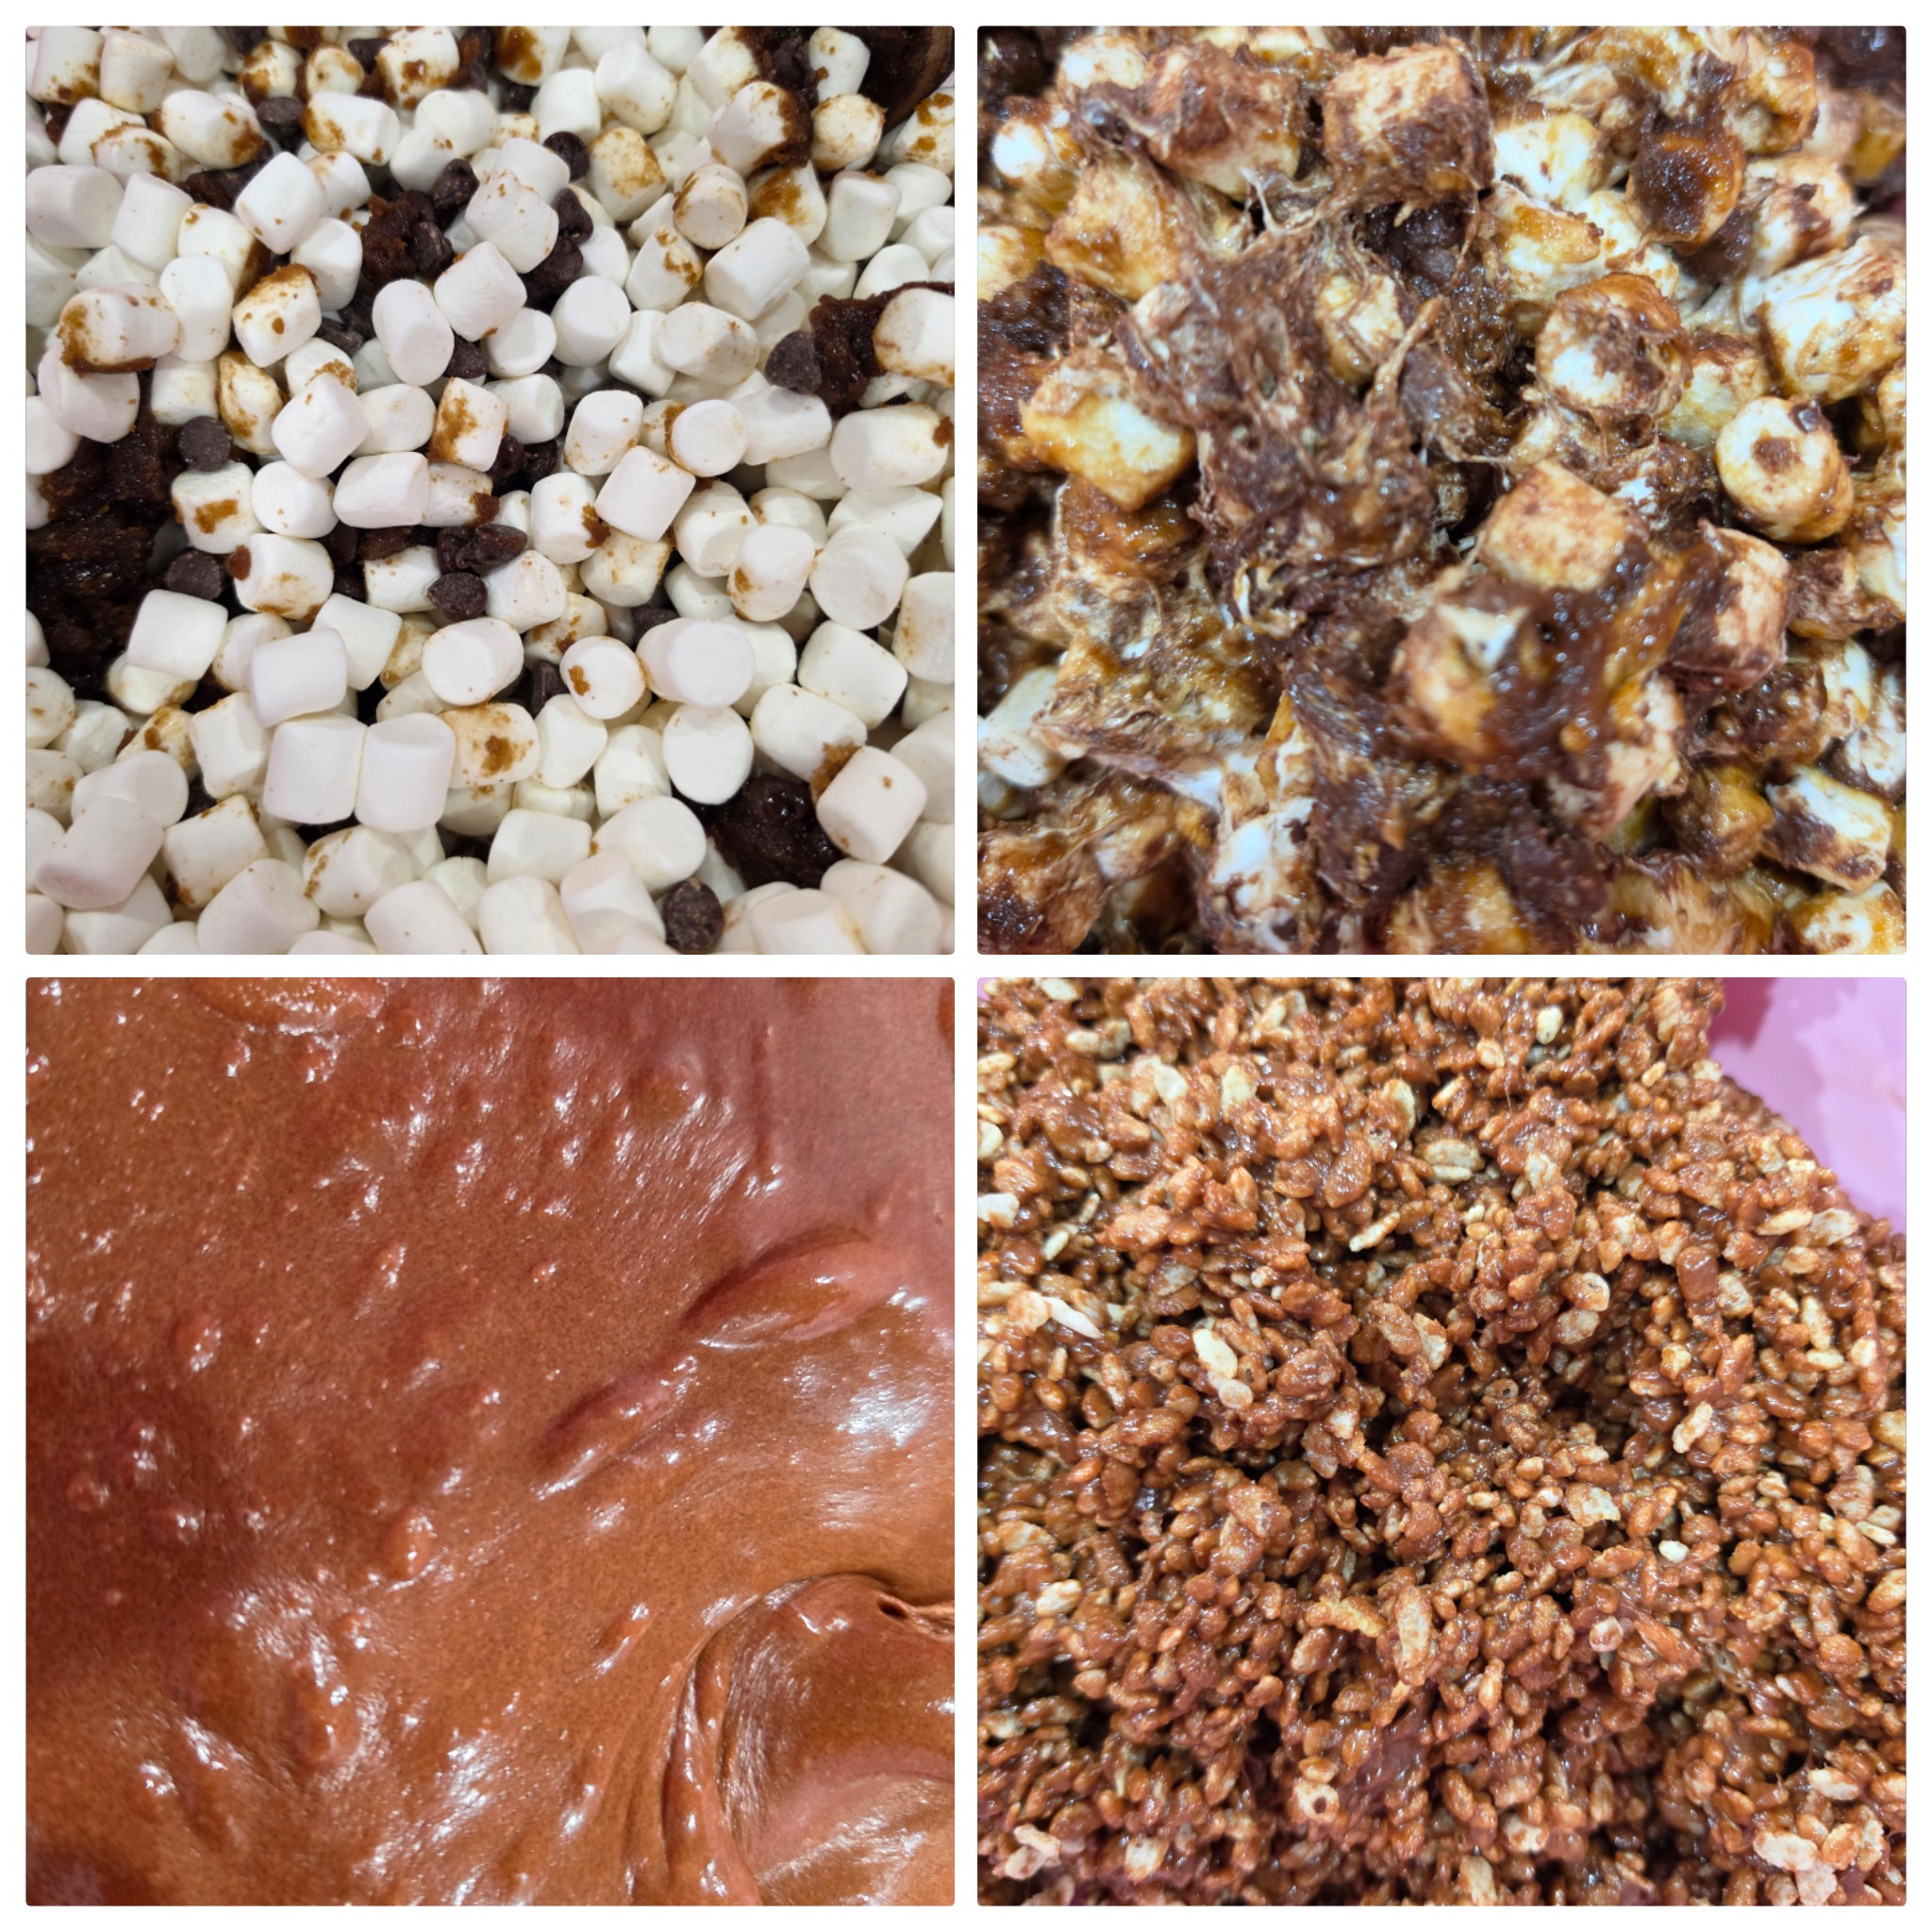
1/2 cup Butter
1 1/2 cups Brown Sugar
20 oz Marshmallows
12 oz Chocolate Chips
12-14 oz Crispy Rice Cereal
On medium heat melt together butter, brown sugar, marshmallows, and chocolate chips. Once completely melted and smooth pour over crispy rice cereal and combined well. Press into a greased 3/4 sheet pan (15×21 inches).
STEP THREE
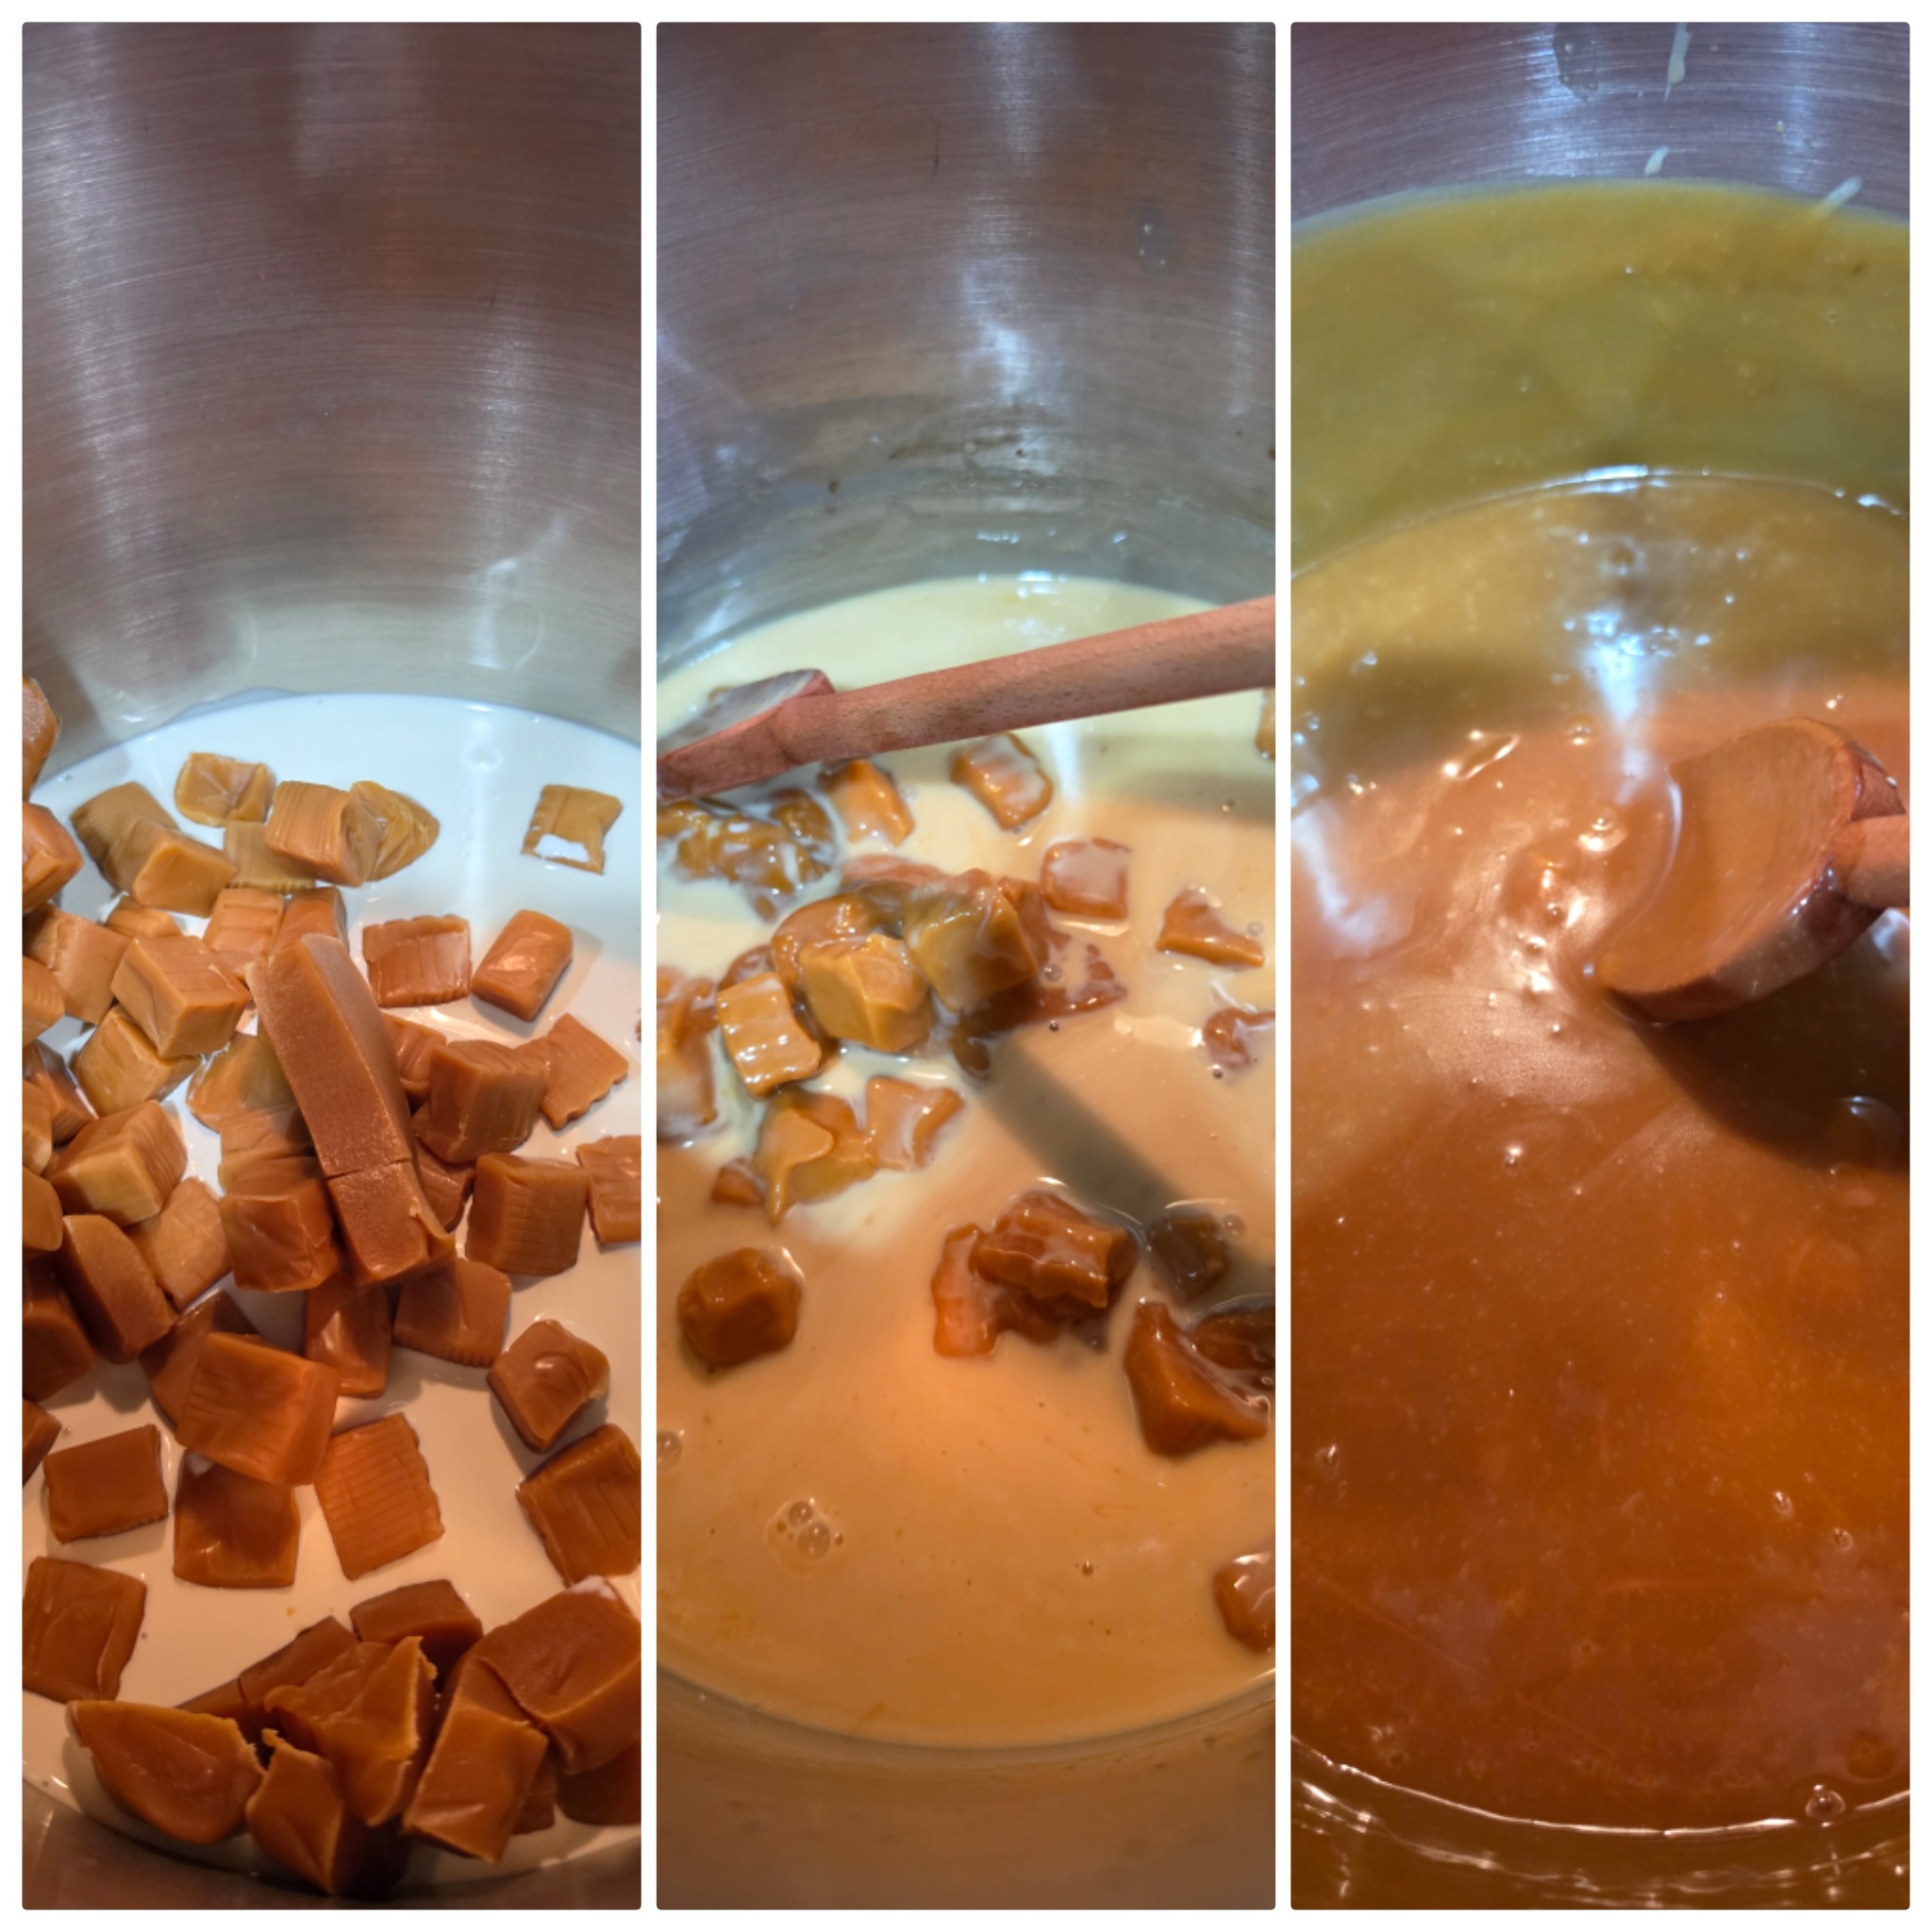
1 1/2 lbs Baking Caramels
1 1/2 cups Whipping Cream
STEP FOUR
On medium heat melt together baking caramels and whipping cream. Once completely smooth stir in toasted coconut. Pour over crispy rice mixer on the pan and spread out evenly. Allow at least 15 minutes before cutting. Makes 24-36 squares depending on how you cut them.
This is a tasty cake is gluten-free and diary free. It can be served on it’s own our with whipping cream or vanilla ice cream.
Ingredients
1/2 cup Sweetened Coconut Flakes
1/2 cup Coconut Oil 1 cup Brown Sugar 1 1/2 cups Sweetened Coconut Flakes
13.5 oz Coconut Milk 1 cup Sugar 2 Large Eggs 1 T Vanilla
1 1/2 tsp Baking Soda 1/2 tsp Salt 1 3/4 cup Bob’s Red Mill 1 to 1 GF Baking Flour (or Regular Flour) 1 cup Sweetened Coconut Flakes
Directions
Preheat oven to 350 degrees. Line 9×13 cake pan with parchment paper. Sprinkle 1/2 cup sweetened coconut flakes on the bottom of the pan and place in the oven for 5 minutes until golden brown.
In a bowl combine coconut oil and brown sugar. Add in 1 1/2 cups sweetened coconut flakes. Sprinkle over the toasted coconut in the cake pan.
Mix together coconut milk, sugar, eggs, and vanilla. Stir in baking soda, salt, flour, and remaining sweetened coconut flakes.
Pour batter over the coconut mixture and cook for 25-40 minutes until golden brown.
Allow to cool 5 minutes before turning over on to tray or serving dish.
Ingredients Scones 2½ cups all-purpose flour 2 tablespoons granulated sugar 1 tablespoon baking powder ½ teaspoon salt 8 tablespoons unsalted butter, grated 1 egg ¾ cup buttermilk, plus extra for brushing 1 tablespoon vanilla extract 15 drops doTERRA Wild Orange Essential Oil 1 T Orange Zest 1 cup Craisins
Orange Glaze ⅓ cup milk 2 tablespoons butter 4–5 drops doTERRA Wild Orange Essential Oil 1 cup powdered sugar
Instructions
Line baking sheets with baking paper and preheat oven to 200° C. Combine flour, salt, baking powder, and sugar in a mixing bowl. Add flour and grated butter. Combined the egg , buttermilk extract, essential oil and zest and mix—be careful not to overmix. Once all the ingredients have been combined, carefully fold in the blackberries and white chocolate chips. Pat your dough into a 2.5cm thick square on a floured surface, then cut 5cm squares. Place these squares on your baking sheets about 5cm apart, and brush the tops with buttermilk. Bake 15–18 minutes or until golden brown, rotating baking sheets halfway through. To make the Orange Glaze, add milk and butter to a small saucepan on medium heat. Cook until milk is steaming, not boiling, then remove from heat and stir in Wild Orange oil. Add powdered sugar until mixture is thin but not watery. Allow scones to cool slightly, then drizzle with glaze.
These tasty side dishes can spice up any meal or party.
Ingredients
2 cups Instant Maseca (Corn Flour) 1/2 cups GF Bread Flour 5 tsp Baking Powder 3/4 tsp Salt 1/3 cup Shortening 14.5 oz Can of Creamed Corn 1 cup Water 3 T Honey 2 Eggs 1/4 – 1/2 cups Tamed Jalapeños
Optional 1/4-1/2 cup cheese
Directions
Preheat oven to 425 degrees. Add maseca, flour, baking soda, and salt together. Cut shortening into dry ingredients. Combined remaining ingredients. Fold wet ingredients into dry ingredients. Grease mini muffin pans and use a cookie scoop to fill each cup. Bake for 15-20 minutes until golden brown.
These tasty muffins are pack with nutrients that support energy and digestion.
Ingredients
1 ¼ cups Buttermilk 1 1/4 cups All Bran cereal 1 1/4 cups Oat or Wheat flour 1 scoop doTERRA Vanilla Protein Powder 1/4 tsp Salt 2 T Raw Honey 1 T Baking Powder 1 tsp Ground Cinnamon 1 drop Cinnamon Bark Essential Oil (Optional) 1 large Egg 1/2 Applesauce
Directions
Preheat oven to 400 degrees and grease a muffin tin. In a medium bowl combine cereal and buttermilk and let sit for 2-3 minutes until cereal is softened.
In a medium bowl combine cereal and buttermilk and let sit for 2-3 minutes until cereal is softened.
Stir egg and applesauce into milk and cereal mixture. (And optional Cinnamon Bark Essential OIl)
Fold wet ingredients into dry ingredients until combined.
Scoop into 12 regular muffin cups or 24 mini muffin cups.
Bake for 12-18 minutes depending on size of the cup and a toothpick inserted in the center comes out clean.
Serve warm or cold. Warp individually to store. Store chilled up to 2 weeks.
Monkey Muffins are full of superfoods that support the body in recovery from physical work/exercise. That are also flavorful and make a great breakfast or snack.
How do the ingredients support the body?*
Bananascontains vitamin B6, fiber, potassium, magnesium, vitamin C and manganese.
Choffycontains theobromine, anandamide, antioxidants, and epicatechin.
Honeycontains antioxidants, minerals, enzymes that have many potential health benefits.
Oatscontains fiber, phosphorus, thiamine, magnesium and zinc
Ingredients
4 Bananas 1 Cup Whipped Choffy 1/2 Cup Coconut Oil 3/4 Cup Raw Honey 1 1/2 tsp Vanilla 3/4 tsp Baking Soda 3/4 tsp Baking Powder 1/2 tsp Salt 1 1/2 Cup Oat Flour 2 Cups Quick Oats
Directions
Preheat oven to 375 degrees. And line muffin tins with liners. Make Oat flour by grinding oats in blender approximately 1 1/2 cup to make 1 cup.
Smash bananas. Make whipped Choffy by blending 3/4 cup Choffy grinds with 1/4 cup brewed Choffy until it is the texture of mousse. Add in to the blender Honey, Coconut Oil, and blend until smooth.
Mix in bananas. Stir in the remaining ingredients.
Bake for 30-35 minutes. Remove from pan and let cool for at least 10 minutes before serving. These also freeze well.
*These statements have not been evaluated by the Food and Drug Administration. This product is not intended to diagnose, treat, cure, or prevent any disease.
If you have coconut lovers in your home, they will love this pie!
Ingredients
1/3 C Cornstarch 1/2 C Sugar 1-15 oz can Coconut Cream 1 cup Whipping Cream 1 Egg 1 T Vanilla 28 oz Flaked Coconut
1 C Heavy Whipping Cream 1/3 C Powder Sugar 1 T Vanilla
Directions
In a medium saucepan, combine cornstarch and sugar. Stir in coconut cream and begin cooking over medium heat. In a bowl, combine whipping cream, egg, and vanilla. Cook until thick like a custard. Remove from heat and stir in flaked coconut. Place in precooked pie shell. Allow to cool for at least 1 hour.
In a mixing bowl, add the remaining ingredients and whip into stiff peaks. And top the coconut mixer with it. Top cooled coconut feeling with the whipped cream.
We stared to do our own bacon a couple of years ago. We use the information from Meatheads AmazingRibs.com so the below is directly from their website.
Skin it. If the skin is still on the belly, remove it and use it to make cracklins. It is sometimes hard to tell if it is still there. It is usually a darker tan color compared to creamy colored fat. You should be able to make a cut in fat with your thumbnail. Your thumbnail will only make a dent in skin. Leaving skin on causes problems for salt penetration, and when you fry it, the skin gets very hard and you probably won’t like the texture. Removing the skin can be tricky. Sometimes you can grip a corner with your fingers and run a knife under the skin to peel it back by running the knife between the skin and fat. Sometimes you just have to shave it off with a sharp knife.
Cure it. Pour everything except the meat into a zipper bag large enough to hold the belly. A 1 gallon bag will hold a single 3 pound slab. Zip the bag and squish everything around until well mixed. Now add the belly, squeeze out the air as much as possible and squish some more rubbing the cure into the belly and coat all sides. Put the bag in a pan to catch leaks and place in the fridge at 34 to 38°F for 3 to 5 days. If the belly is thicker than 1.5″ check the calculator here. The belly will release liquid so every day or two you want to gently massage the bag so the liquid and spices are well distributed, and flip the bag over. NOTE: If you use more than one slab in a bag it is crucial that the slabs do not overlap each other. Thickness matters!
Fire up. If you are using a grill, set up for 2-zone cooking or fire up your smoker.
Cook. Smoke over indirect heat at 225°F until the internal temp is 150°F, about 2 hours. You can use any wood you like. Hickory is the tried and true. I’m partial to cherry and applewood. After smoking you should slice off the ends, which may be very dark and more heavily seasoned, and taste them right away. They will be more salty than the innards and the fat will be a bit stringy, but you’ll love it all the same. Just wait til you cook up an inside slice!
Cool. Now let it cool on a plate in the fridge. Cold bacon is easier to slice. Use on a slicer if you have one, or use a long thin knife to slice it. Try some thin and some thick slices. You can also cut bacon in cubes to make lardons and use them like bacon bits in salads, mashed potatoes, mac and cheese, baked beans, in sauces or to garnish chops, or roasts.
Wrap it tightly with several layers of plastic wrap, and then a layer of foil, and refrigerate for up to 2 weeks or freeze for up to 3 months. Do not wrap in foil alone because it can react with the salt.
Slice. Slice it across the grain. For evenly thick slices, a slicing machine is the best choice, but I rarely use mine because it is a pain to clean. Besides, I like to keep the slab intact and tightly wrapped in the fridge or freezer to reduce exposure to oxygen which can make the fat taste funny in a week or two. When I make bacon I usually shoot for hunks 6 to 8″ wide across the grain to make sure my thin 9″ knife and frying pan fit. If you put a slab in the freezer for 15 minutes or so it gets stiffer and easier to slice.
Cook. When you are hungry, cook it just like you do store bought bacon. Or make candied bacon like in this video.
Save the bacon drippings. While your bacon is cooking lay out a section of newspaper several sheets thick, and cover it with a layer of paper towels. As soon as the bacon is done, move it to the paper towel to drain. Let the fat in the pan cool a bit and then pour it in a glass jar and refrigerate. Hot bacon can melt a plastic tub, so be careful. Save the fat for up to a month and use it to fry. Broccoli and potatoes are especially good cooked in bacon grease.
About the pork belly. Look for pork belly that has about a 1:1 ratio of muscle to fat. The muscle should be pink and the fat creamy white. My favorite bacon is made from the layers of fat and meat that lie on top of the spare ribs, called “side bacon” or “streaky bacon”. It can be about 1:1 or 1:2 with more meat, depending on the breed of hog, age of the hog, feed, and other variables. When shopping, ask your butcher to order some fresh, unfrozen, raw side or belly bacon slab, unsliced. It should be about 1 1/2″ thick and 6 to 8″ wide across the grain to make slicing easy and to make sure it fits in the frying pan. It should look like the picture shown here. Make sure you explain that you want raw bacon, not cured, and definitely not sliced. Ask your butcher to remove the skin but save it for you so you can make cracklins. You can freeze the skin until you are ready to make the cracklins. If you got sliced belly by mistake, marinate it in your favorite marinade, grill it in idividual slices, fast, or adapt this recipe for pork belly. An Asian marinade like teriyaki/huli huli is great. But don’t try to cure sliced pork belly.As soon as you get your slab home, start the cure because raw pork fat does not age gracefully. It gets rancid and smells funky in only 5 to 6 days. That’s a flavor beloved in many European and Asian countries, but not so much in the U.S.If you want to have fun, order pork jowl instead, which tends to be 40 to 60% muscle. It is called guanciale in Italy and is standard in carbonara. About the Prague Powder. Commodity grocery store bacon uses Prague Powder #2 which has a blend of salt, sodium nitrite, and sodium nitrate. It is often injected with the cure and sprayed with liquid smoke. The cured belly goes into the smoker at 100°F for 30 minutes, then the temperature is reduced, after drying, to between 80 and 90°F. That low, or cold, temperature is maintained for about six hours. The result is a raw cured meat that must be cooked before eating, and cooking it long enough can produce really crispy, bacon.This old fashioned recipe calls for Prague Powder #1 only and smoking at 225°F. That cooks and pasteurizes the meat and makes it safe to eat right off the smoker. I do not recommend cold smoking at home. Yes, I know your Ukrainian neighbor cold smokes his bacon the way his Papa taught him, but he is playing Russian roulette, especially with today’s meat supply. Click here for more on cold smoking and why I do not recommend it. After smoking it will not get as hard and crispy as commercial cold smoked bacon with nitrates. Of course, if you are like me, you don’t want your bacon crumbly, so this is not a problem.A note about saltiness. Occasionally we get a reader saying it is too salty. Occasionally we get a reader who says it is not salty enough. We have learned that saltiness is a matter of personal preference. Make the recipe the way I like it and if you feel salt needs an adjustment, then add or subtract the Morton coarse kosher salt, not the Prague Powder #1.Optional. Make your first batch according to this recipe. For your second batch, if you wish you can add fresh garlic or dried garlic, citrus zest, herbs such as thyme, bay leaf powder, celery seed, chile pepper, fennel, or coriander. Or try my Maple bacon or Asian Bacon, linked at the top of the page.
This is a family favorite and a great way to use the ends and pieces of your home cured and smoked bacon. This recipe is easily doubled or tripled. This serve recipe serves 4 people.
Ingredients
1 cup Bacon Ends and Pieces 2 cups Brussel Sprouts
Directions
Cut Bacon Ends and Pieces in to cubes. Cut Brussel Sprouts in half.
In a skillet start to brown the bacon cubes on all sides. Little steam Brussel sprouts for 2 minutes, drain and set aside.
Once Bacon is browned on all sides add in Brussel sprouts and cook until golden brown.