Canadian Butter Tarts

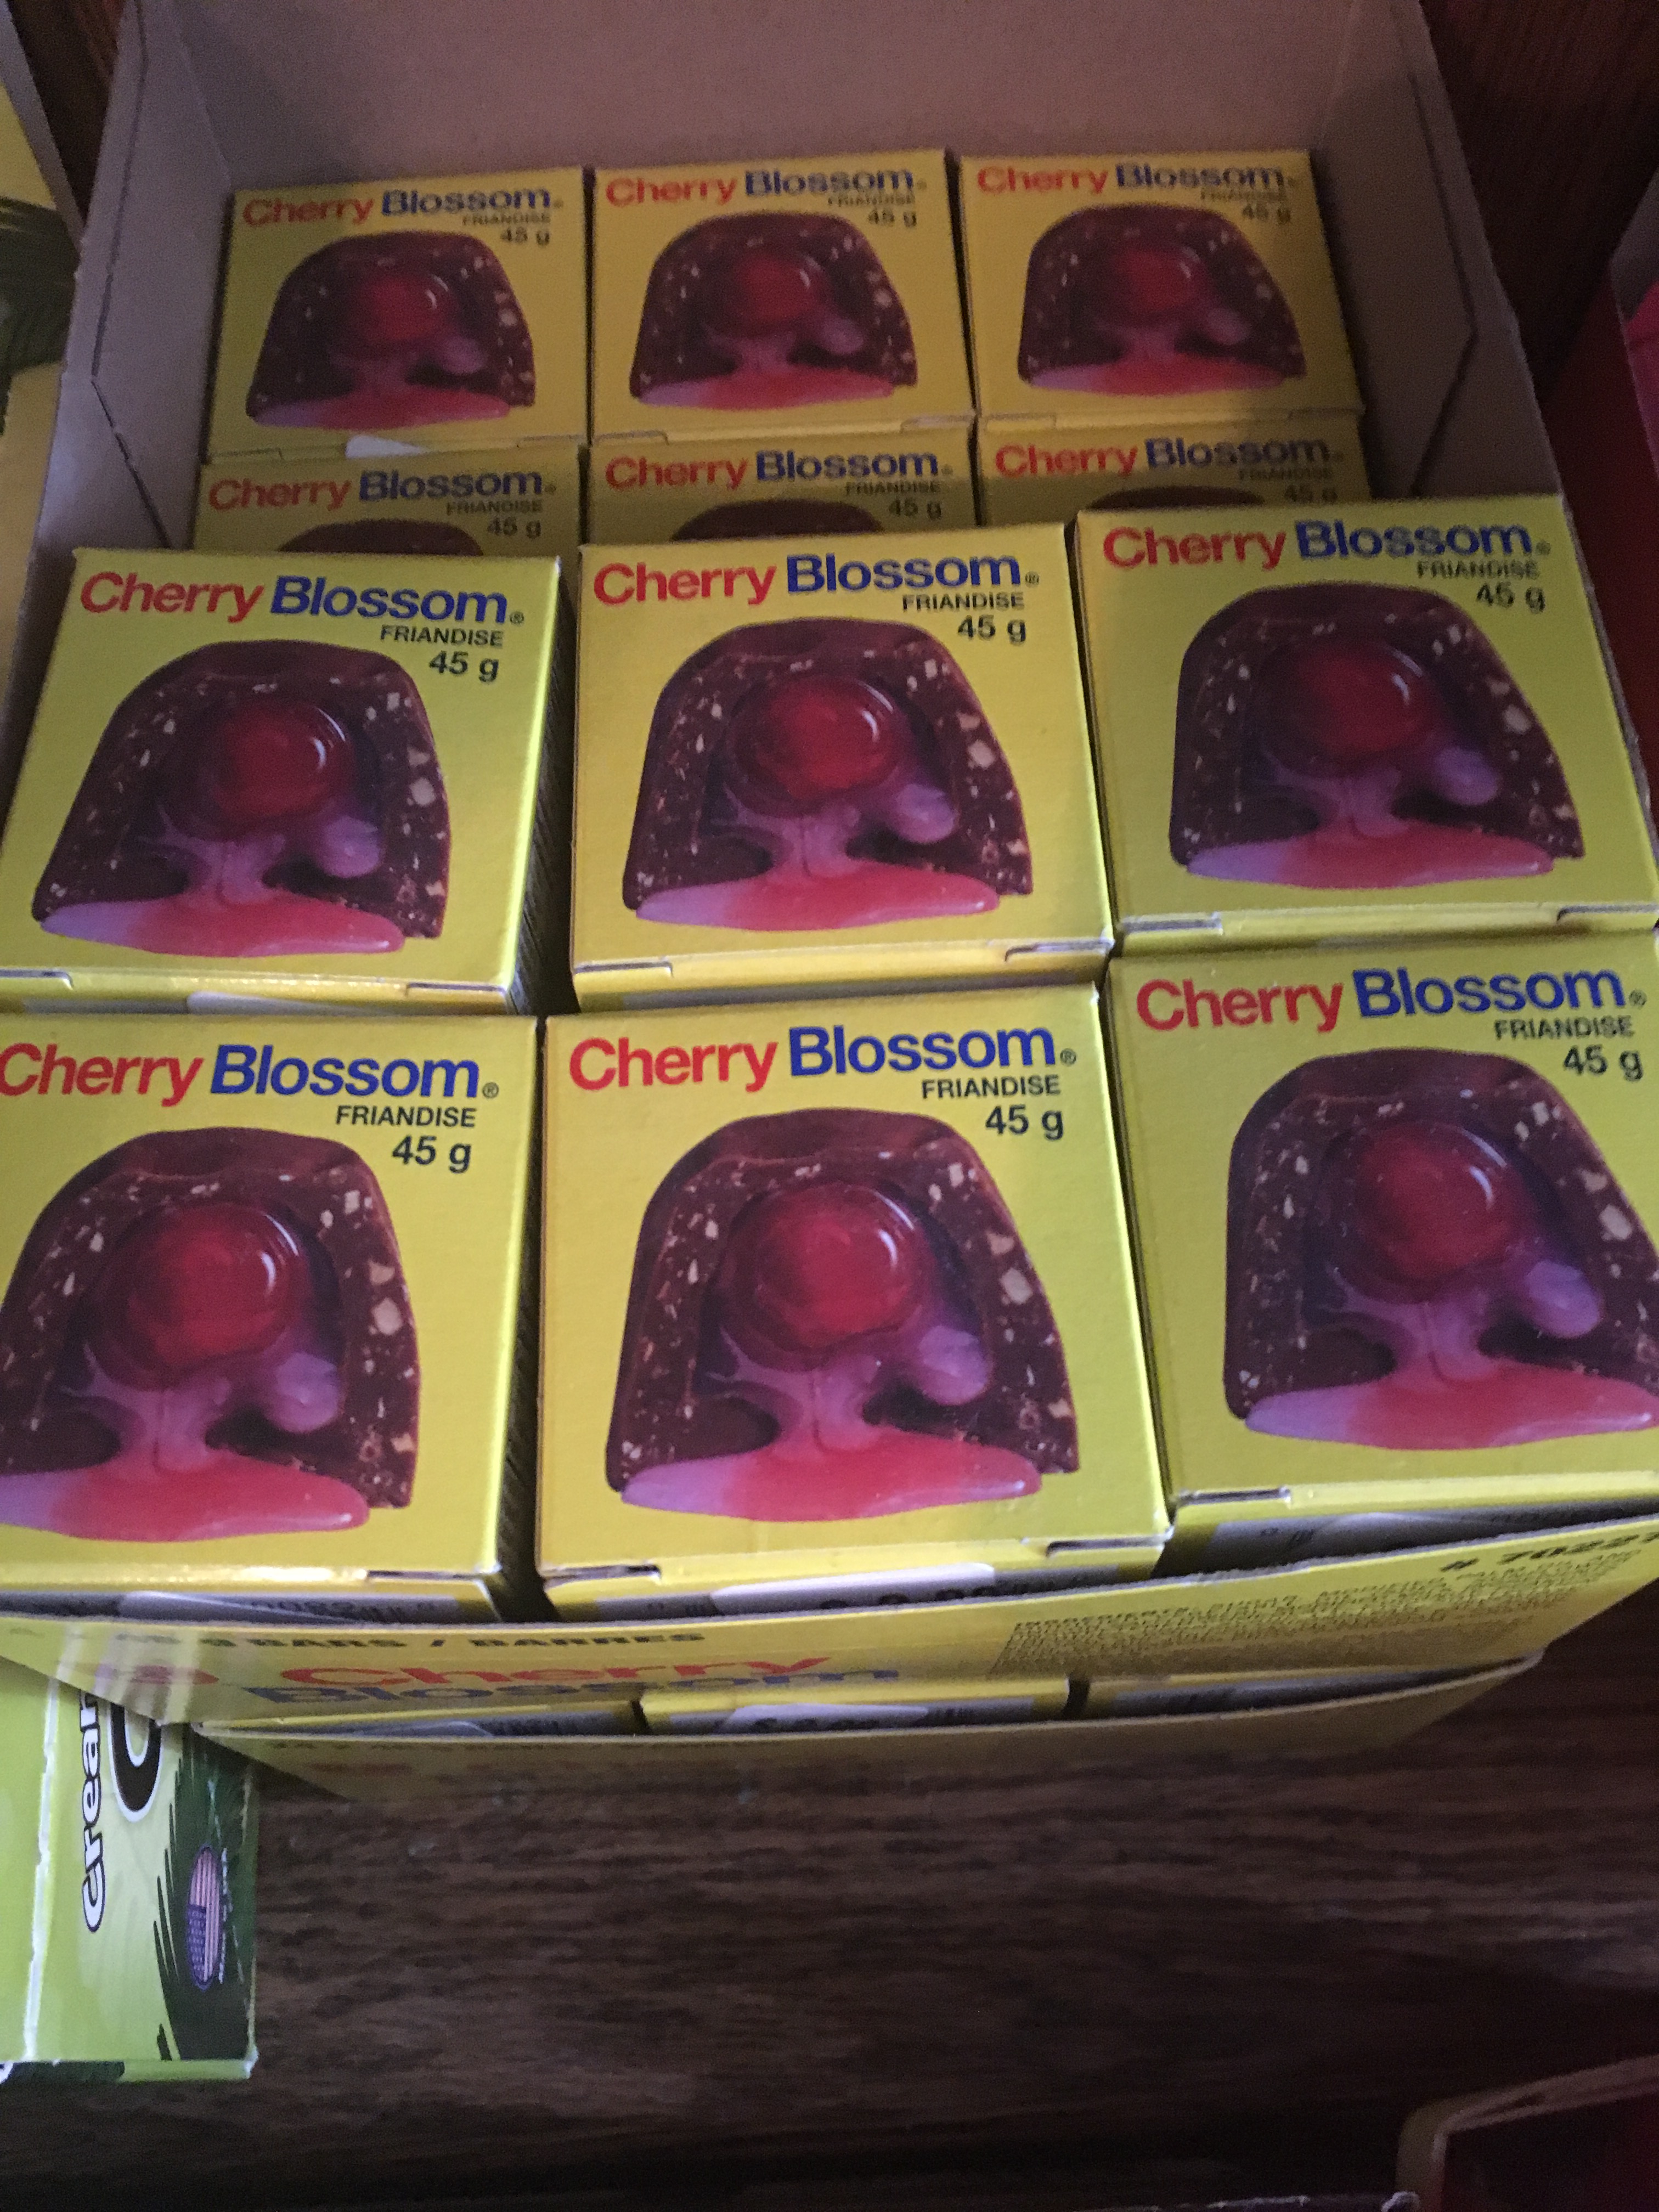
I enjoy Pecan Tarts, but each time we have them, Joseph reminisces about Butter Tarts and Pecan Butter Tarts from Canada. Well after vacationing in Canada I now understand why. I have spent the last week researching. The finished product was exactly what I was hoping for.

There are many debts on what Butter Tarts should be, thick or runny, thick crust or thin, pecans, raisins, or plan. We LOVE them with Bacon!

Pastry

1 cup cold Unsalted Butter
1/3 cup Powder Sugar
2 ½ cups Flour
½ – 1 cup cold Water

Directions

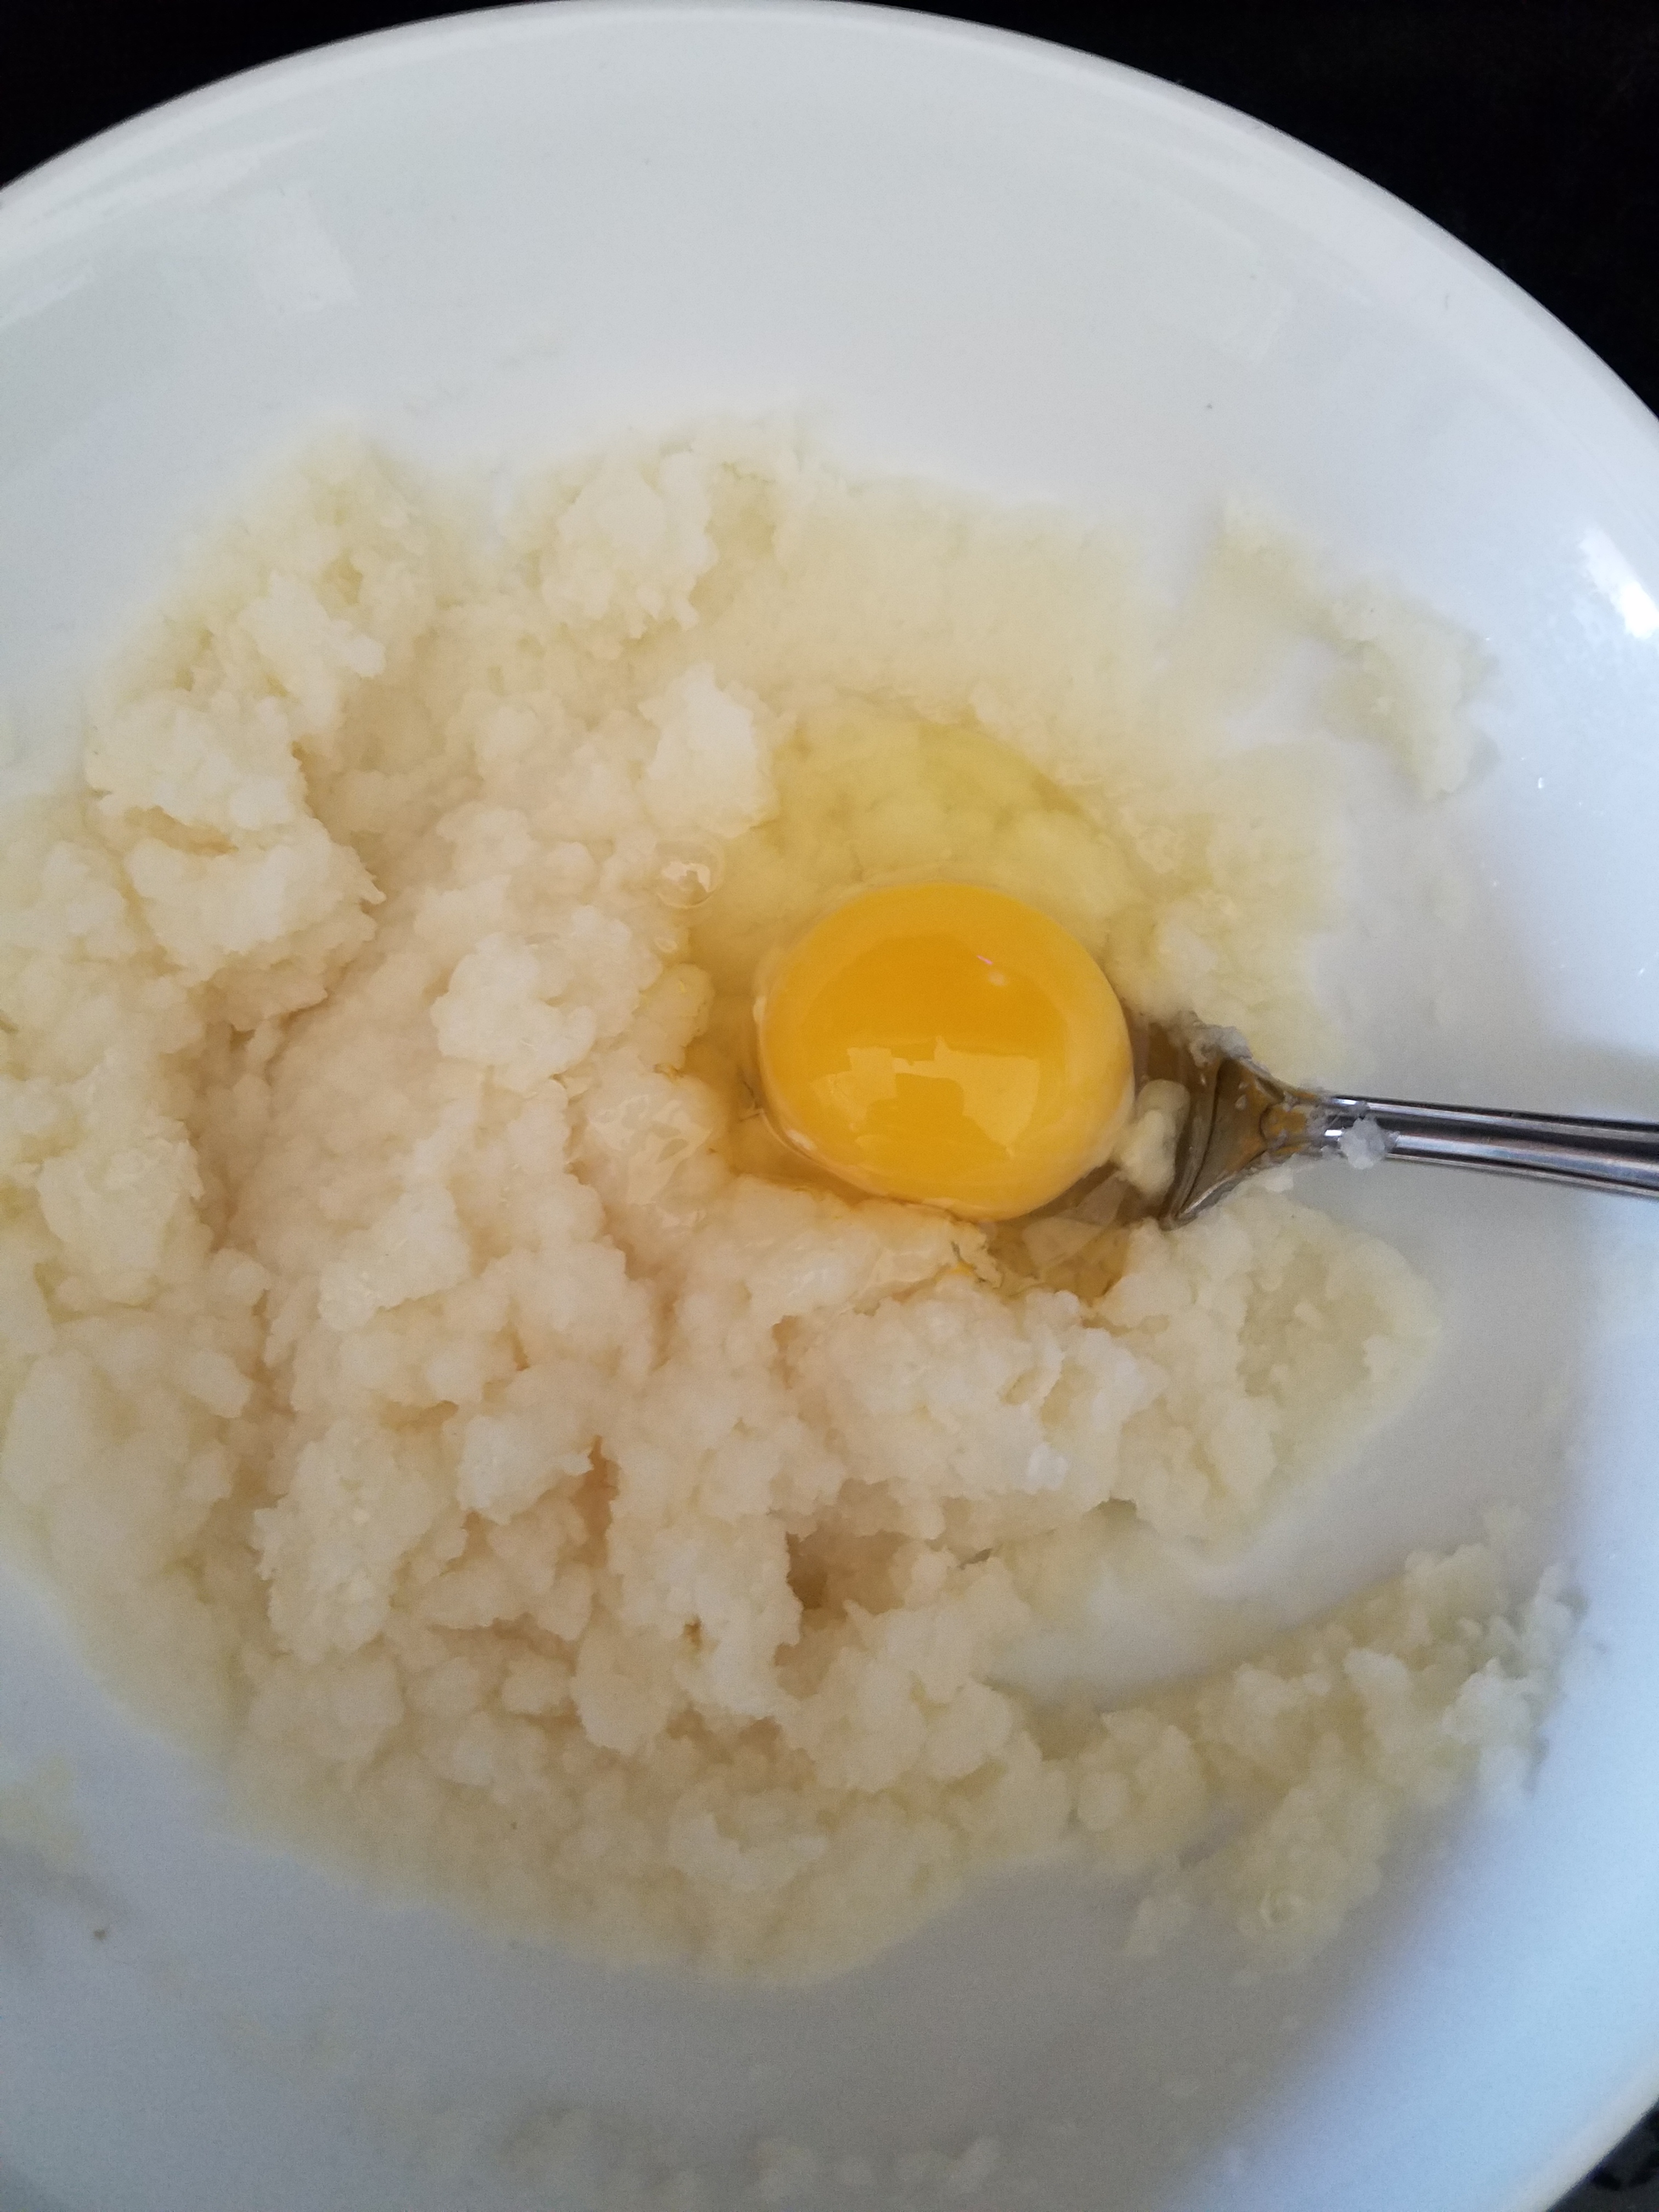
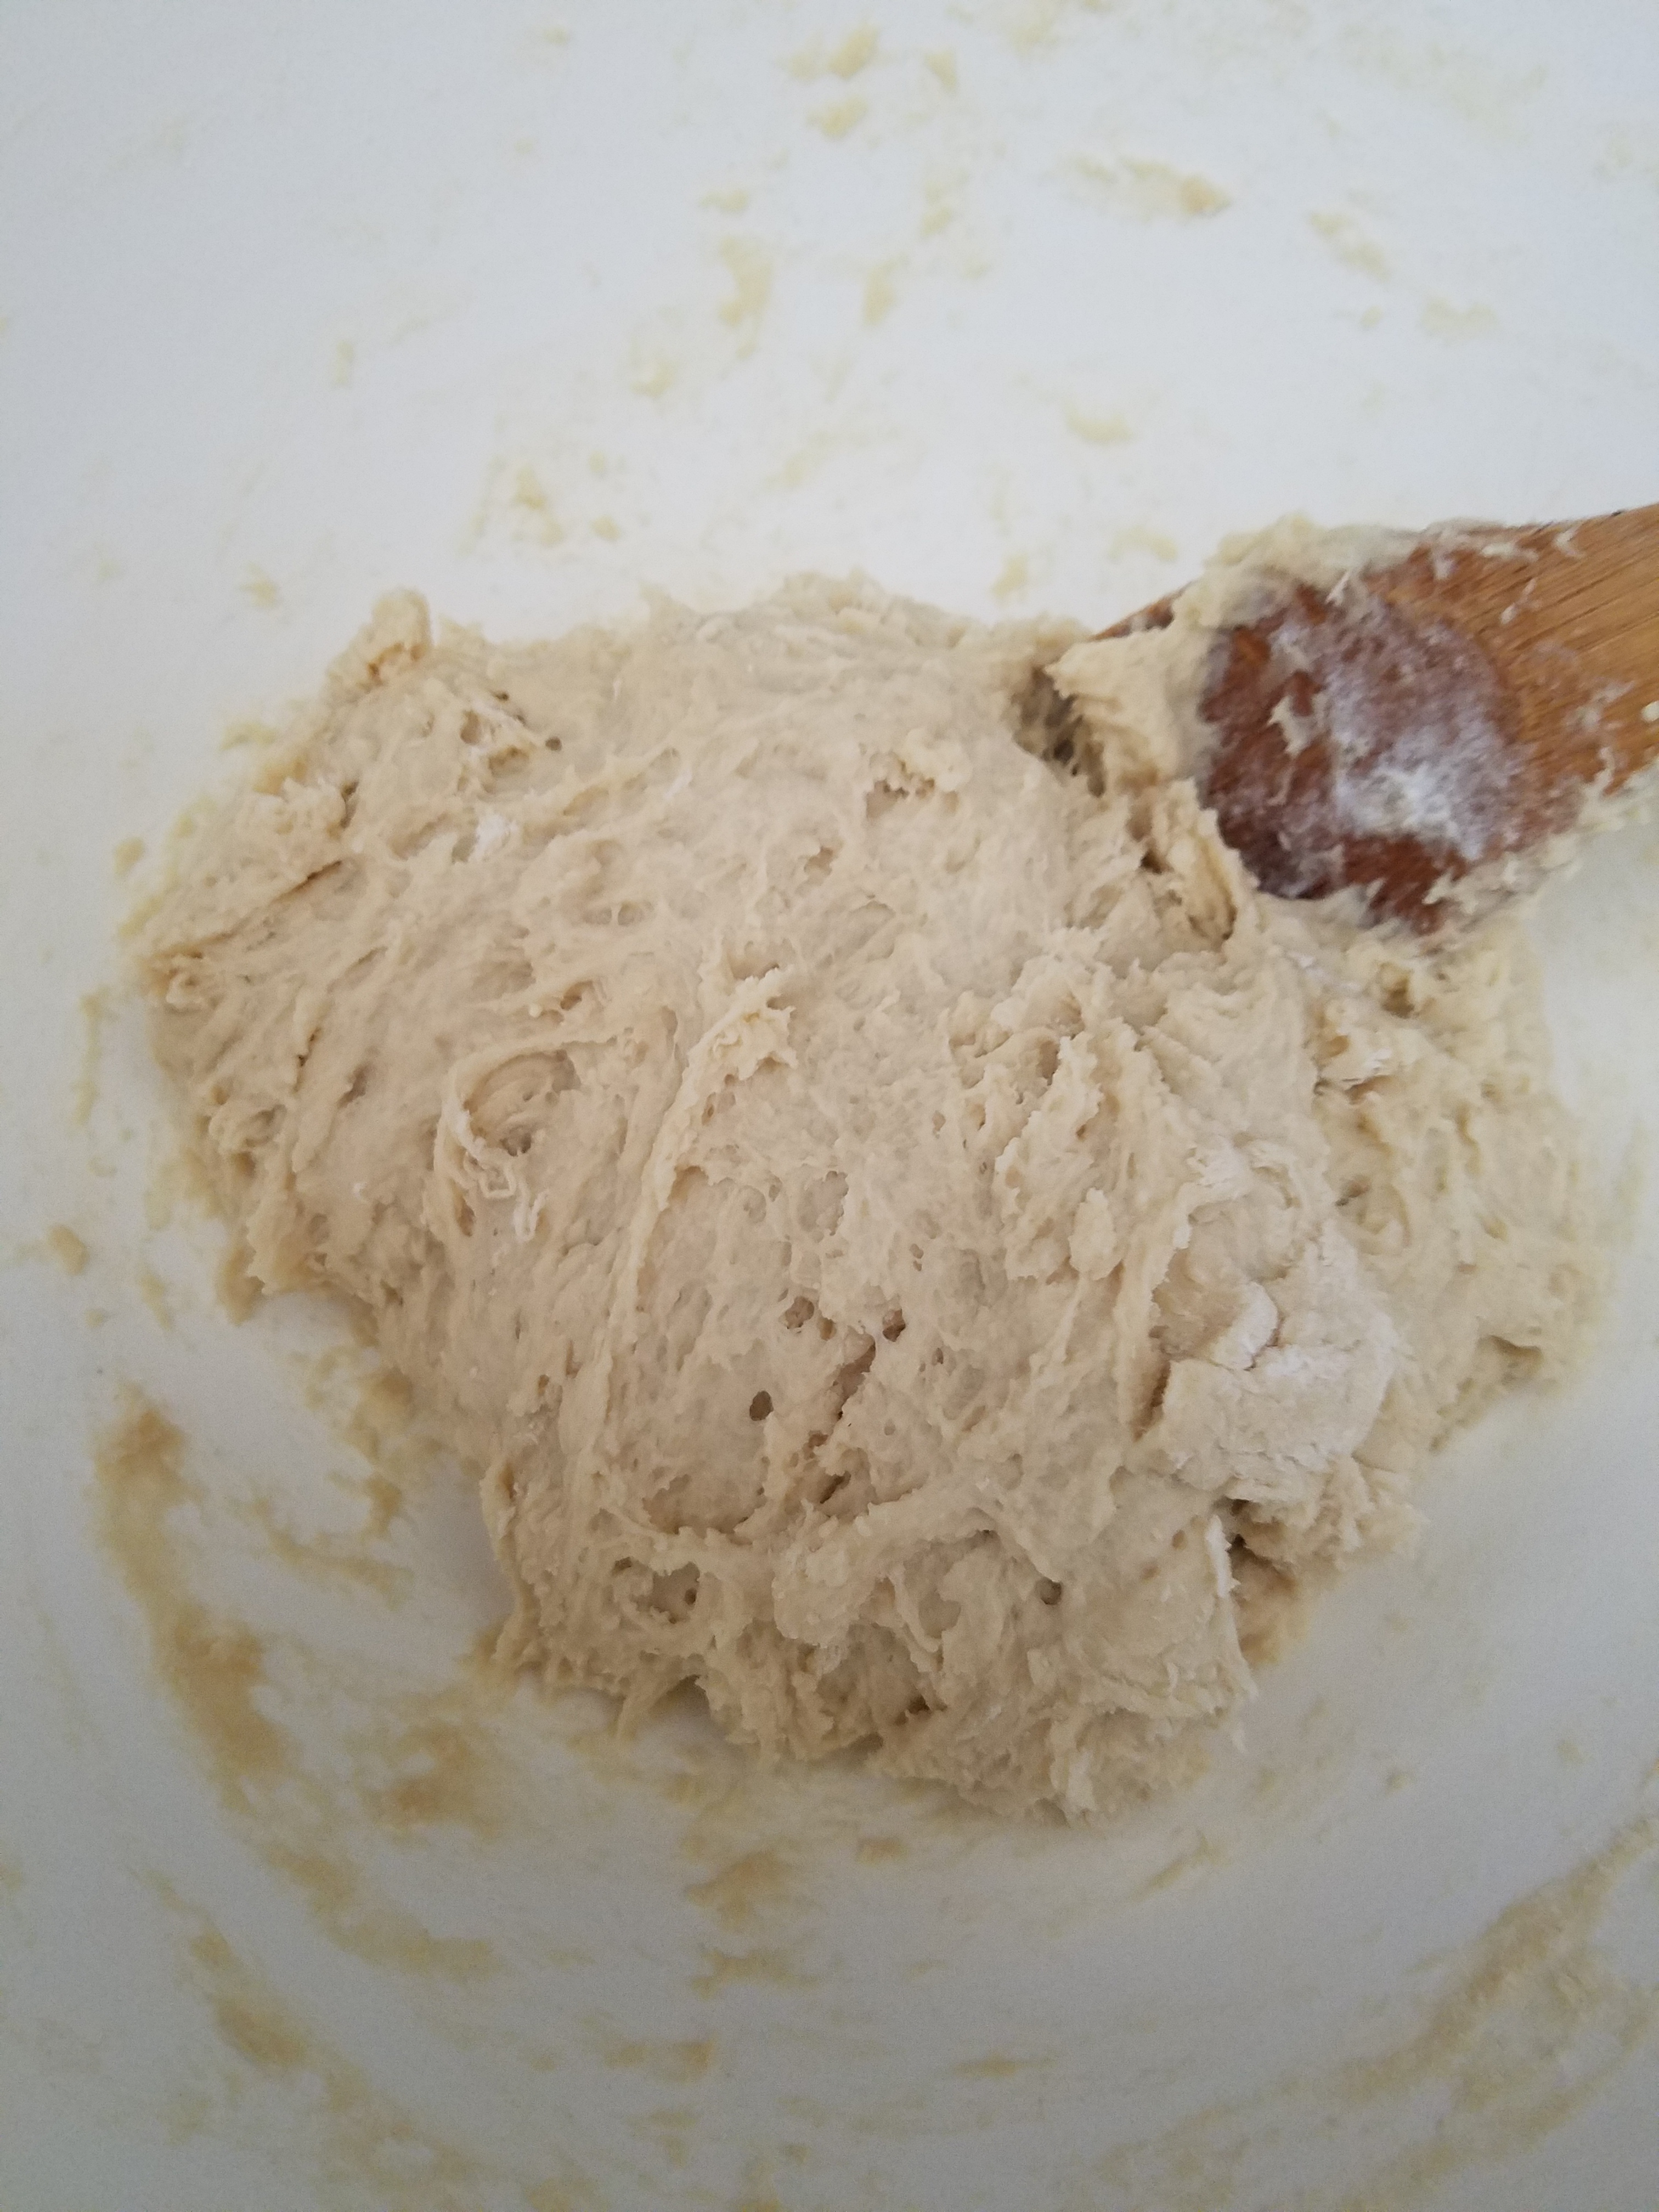
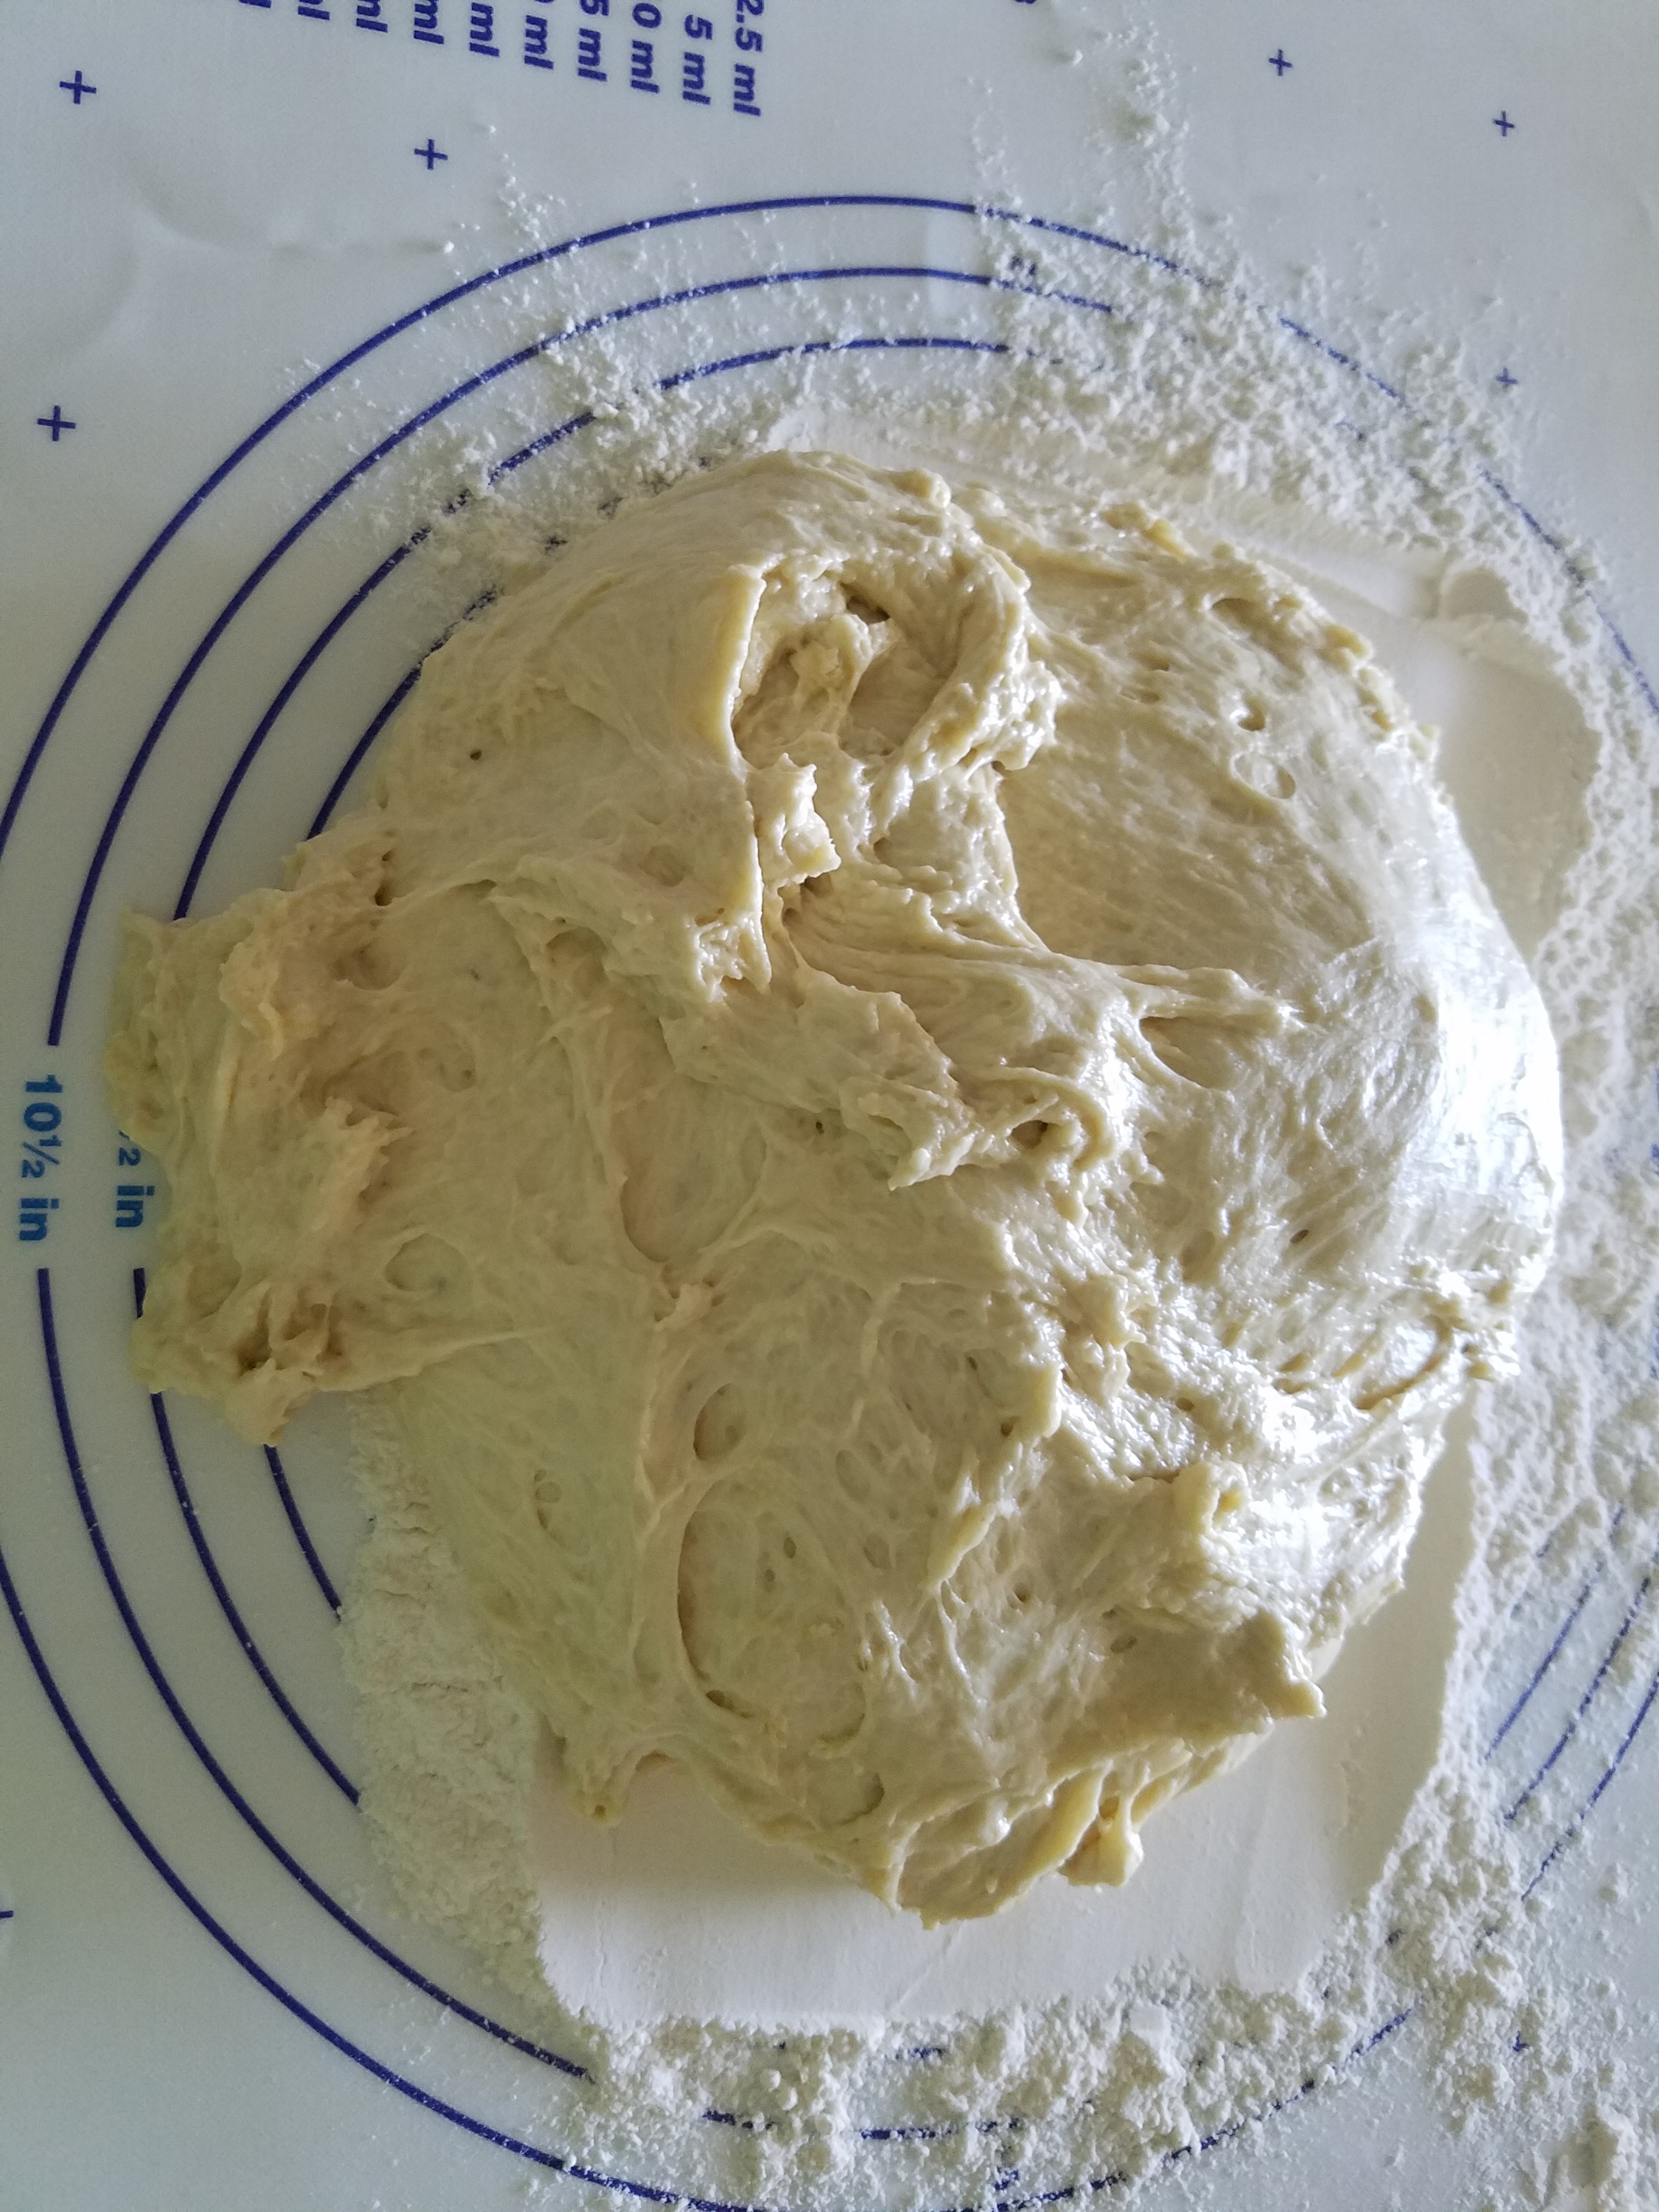
Combined powdered sugar, and flour. Cut butter into small pieces and cut into the flour with a fork or pastry cutter. Gently fold in water ¼ cup at a time until it forms a ball of dough. (You don’t want to dough too wet.) Refrigerate for 15 – 20 minutes.

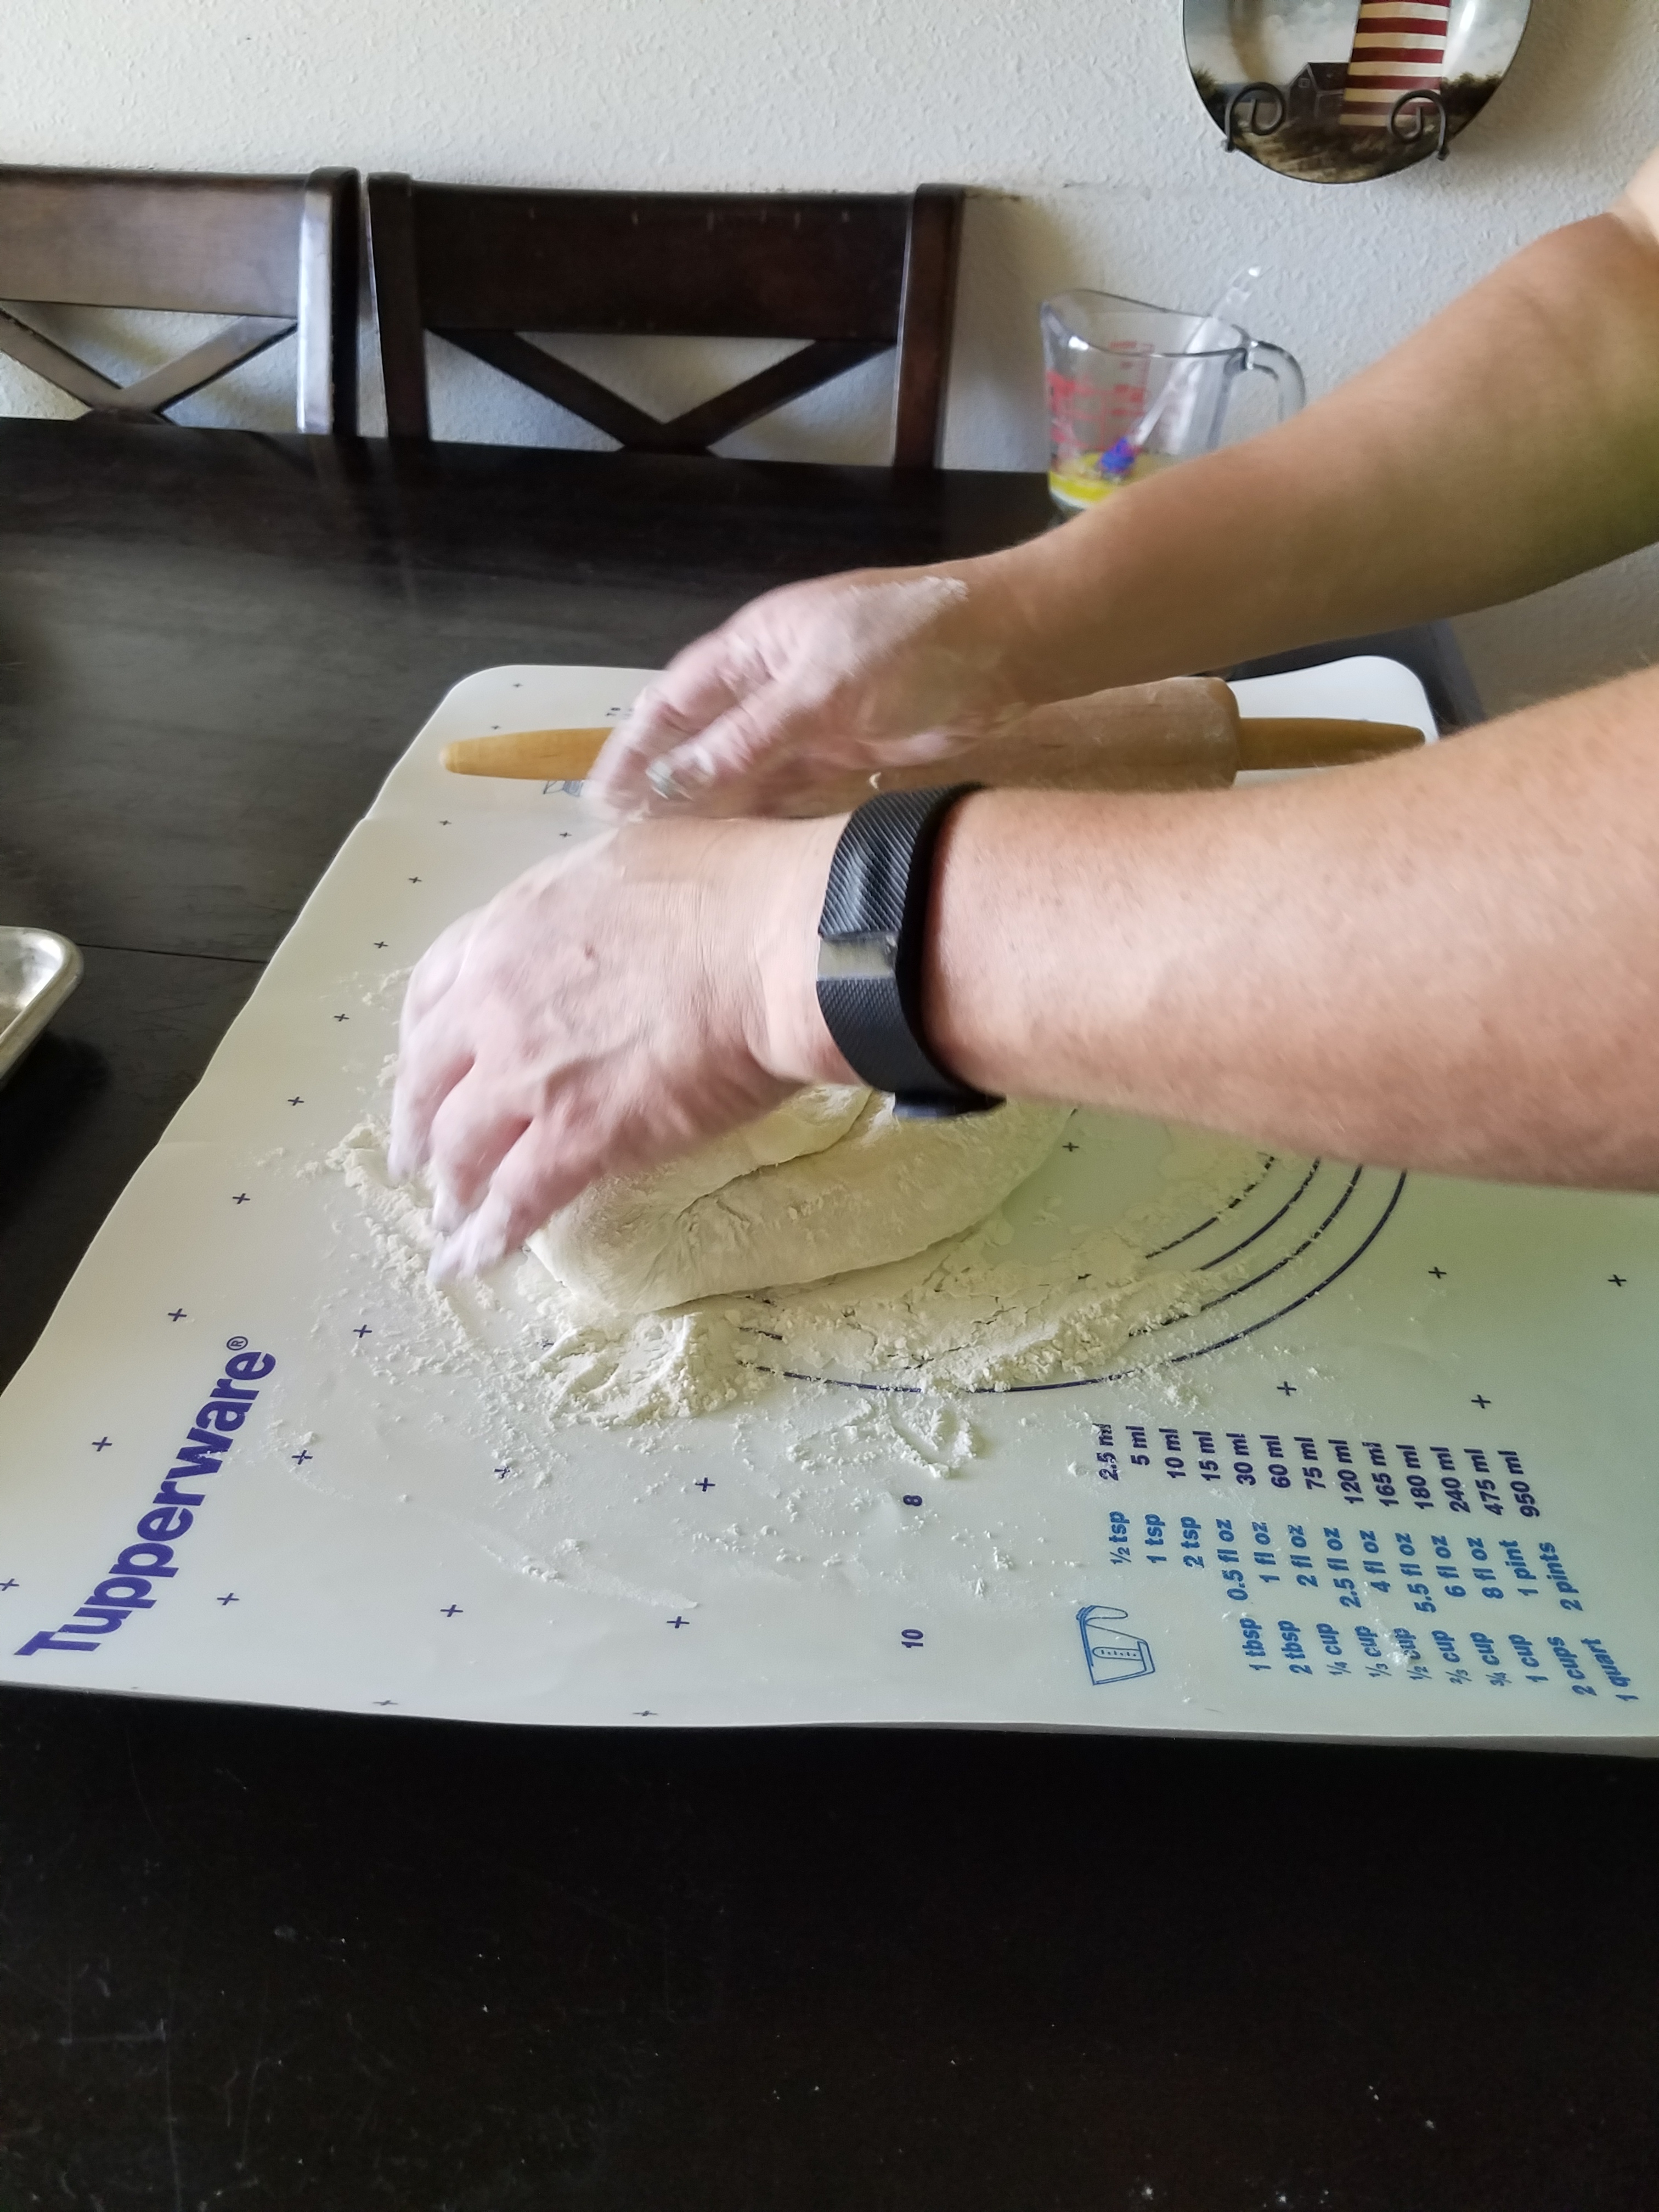
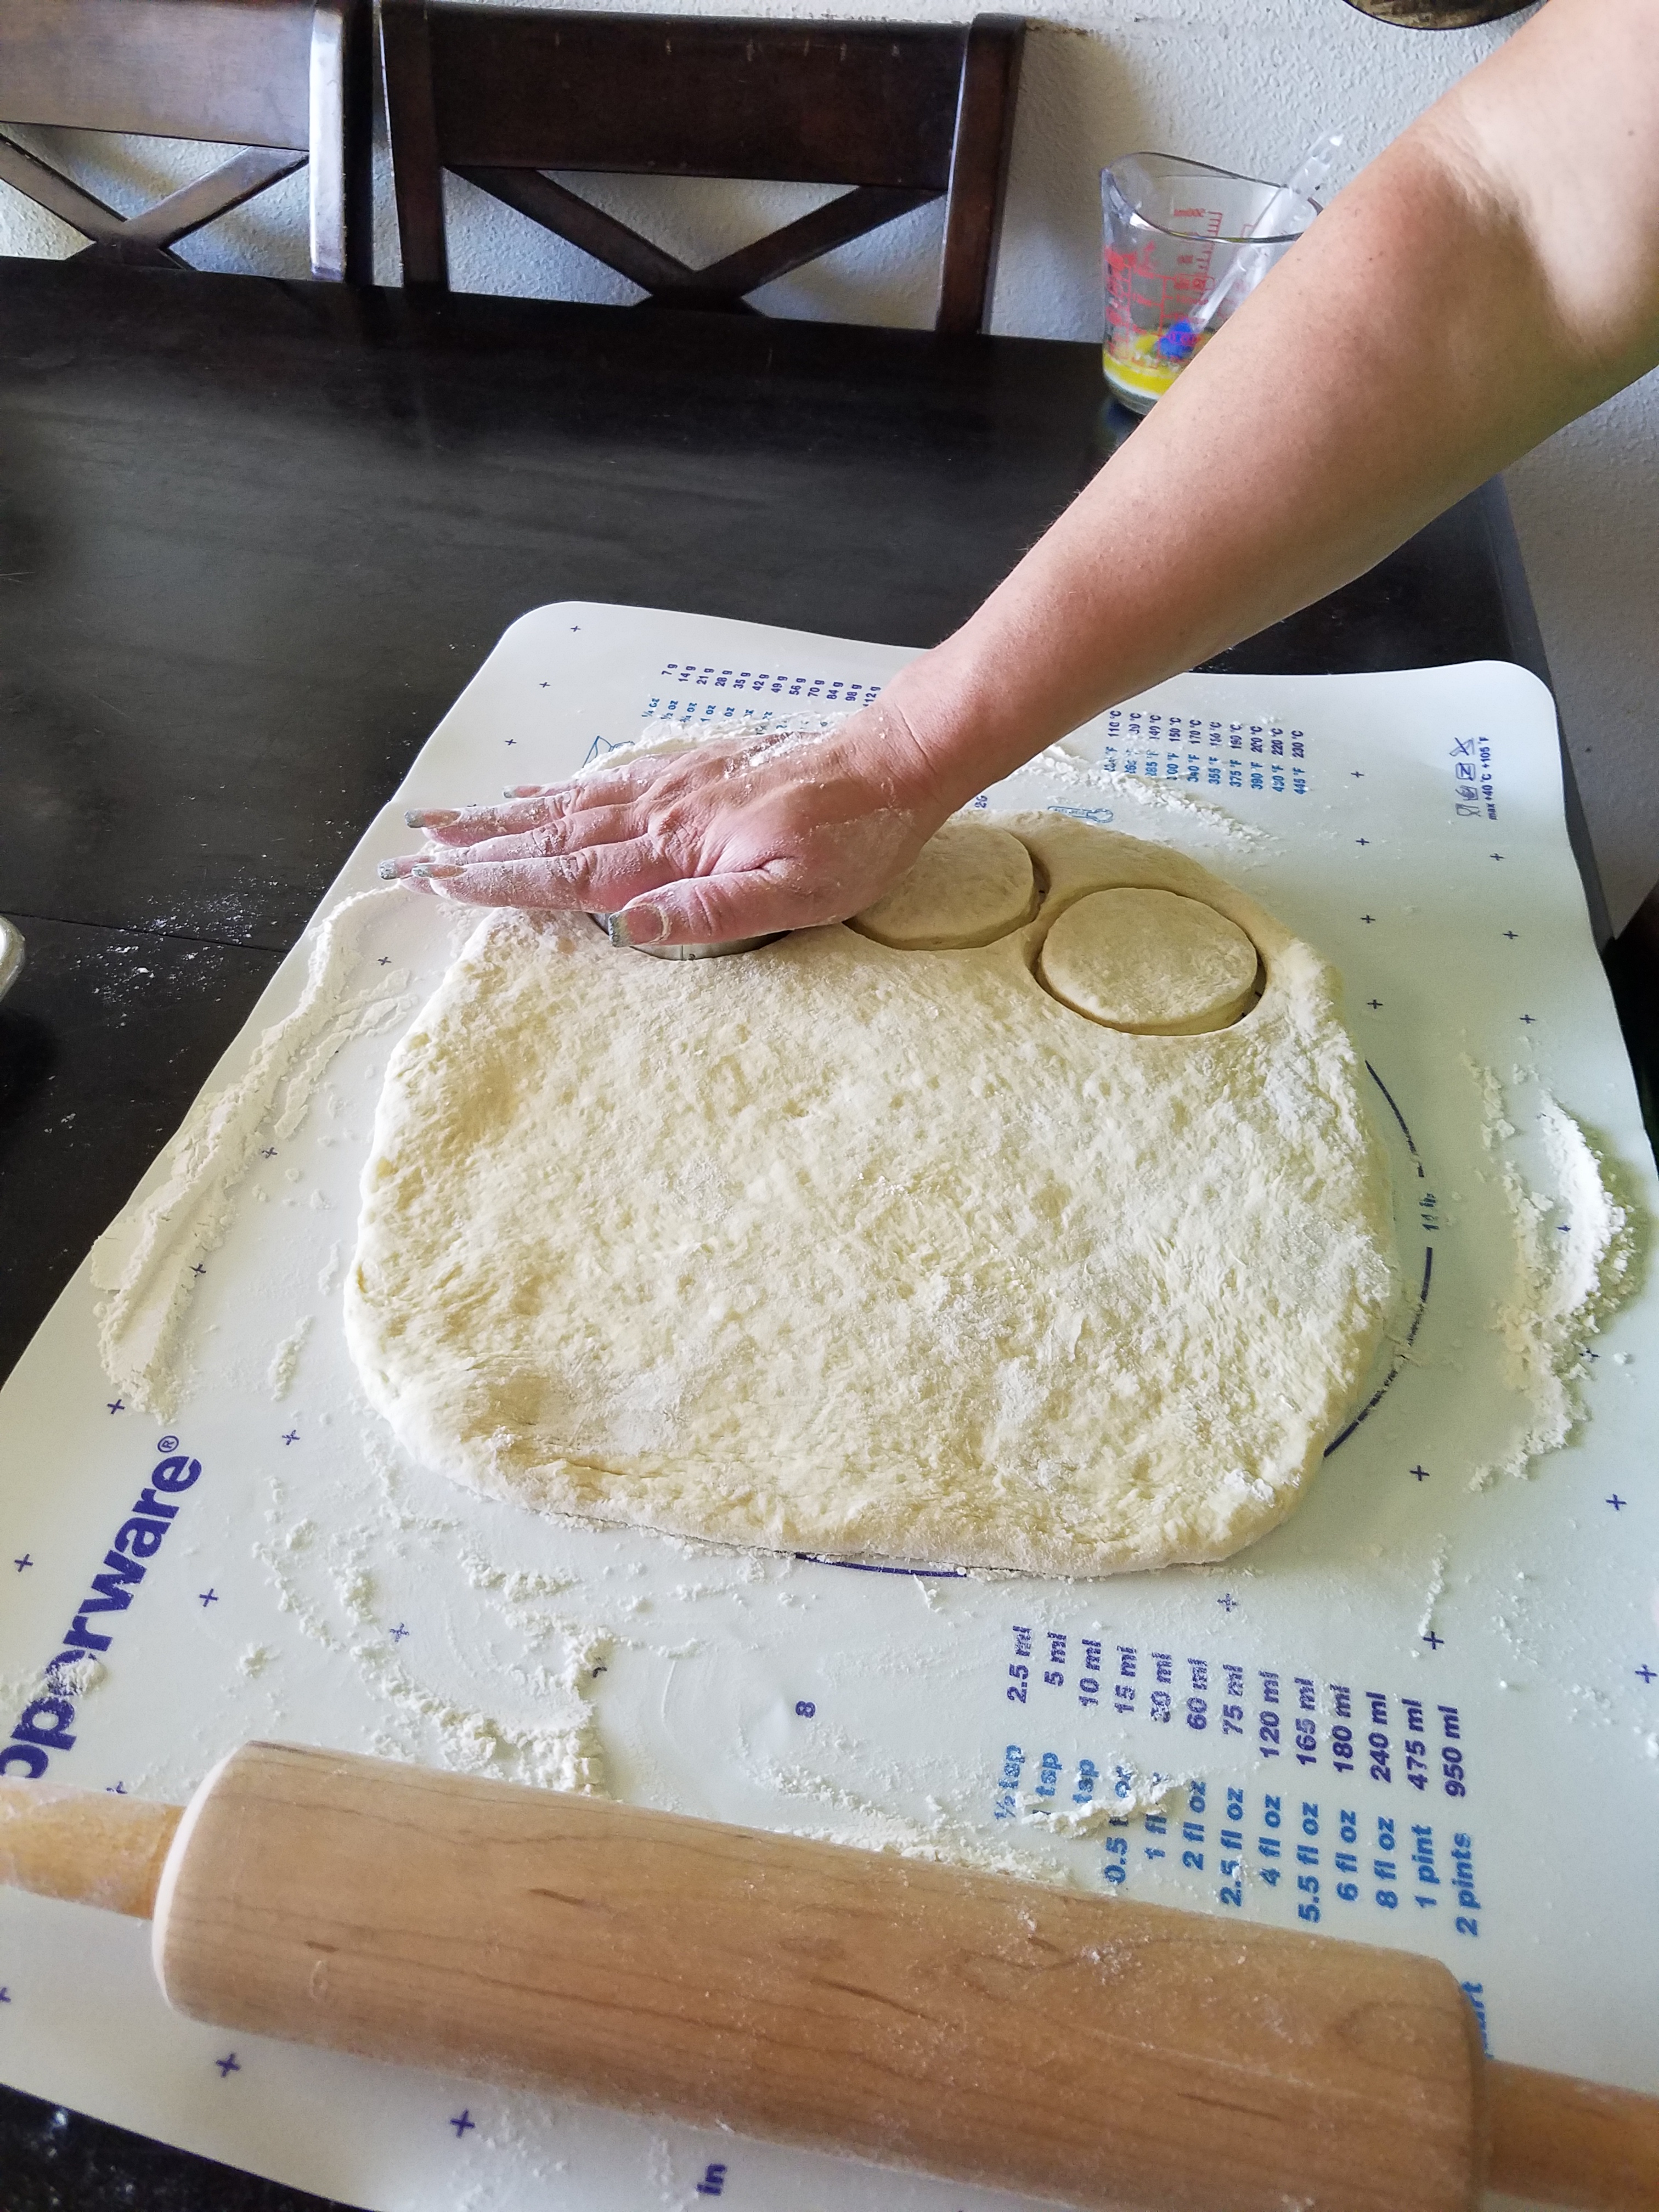
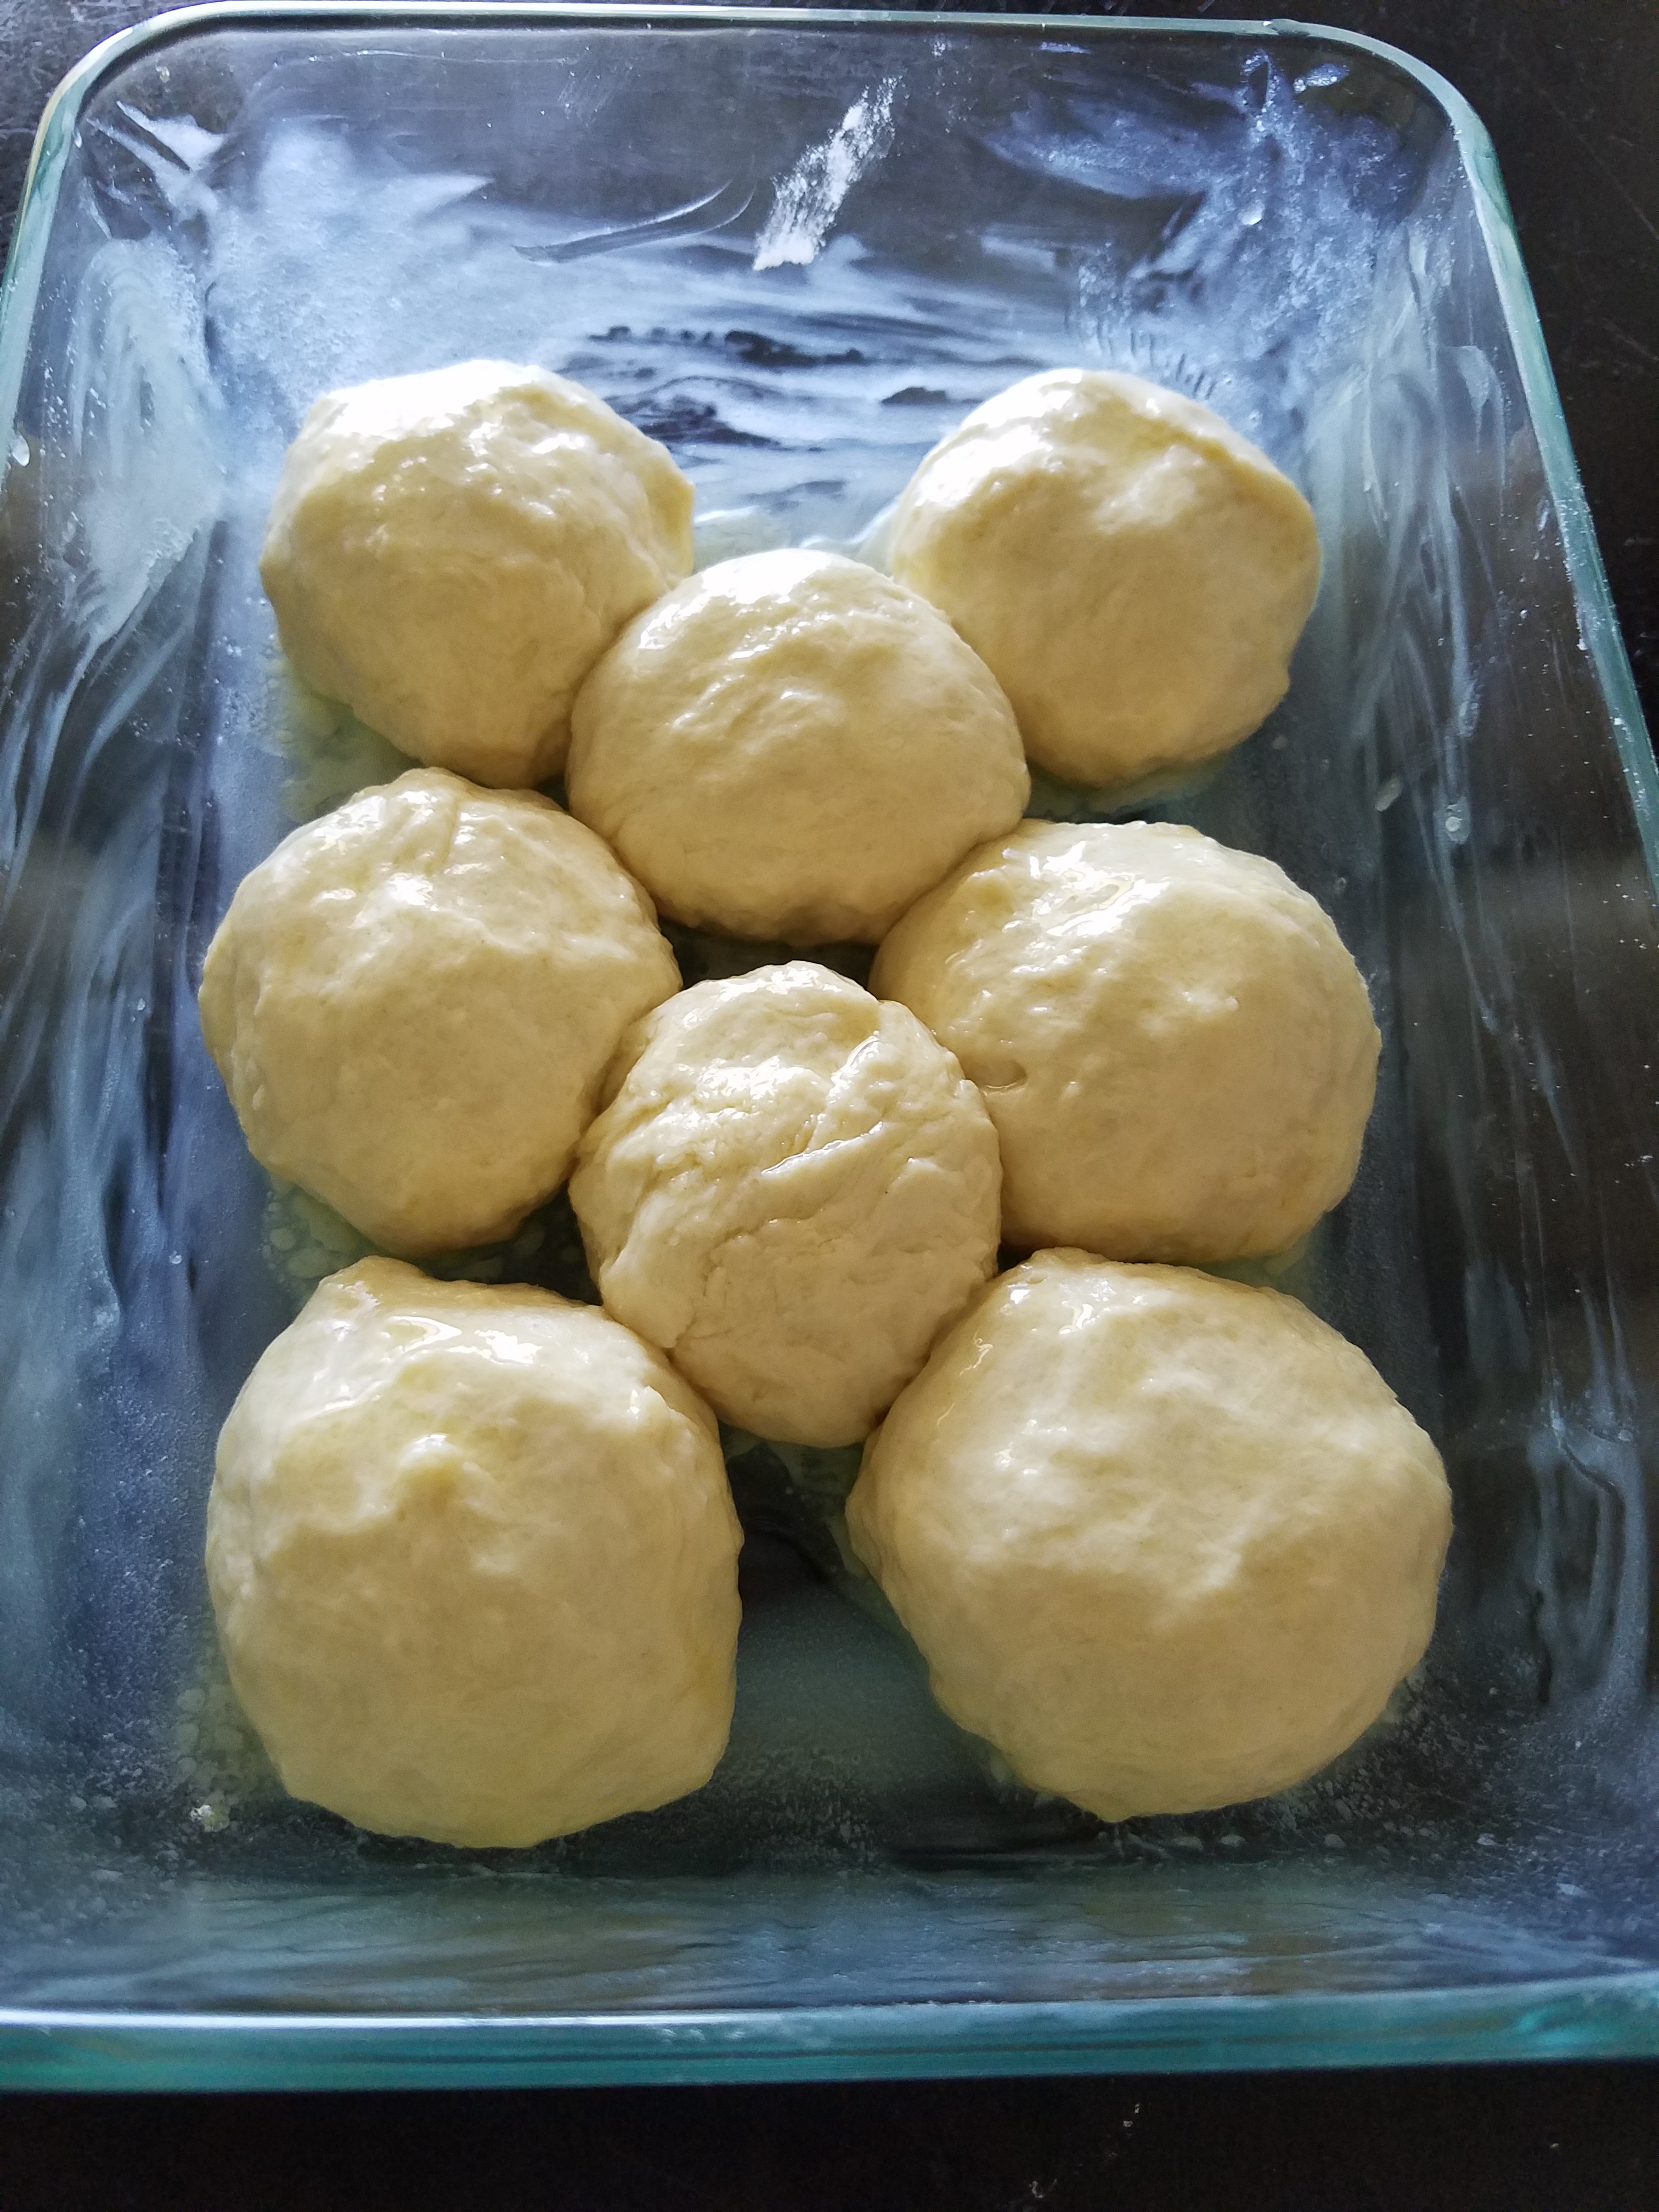
Preheat the oven to 400 F and lightly grease a 12-cup muffin tin. Roll dough out on a lightly floured work surface to just under a ¼-inch thick and cut into a circle. Line each muffin cup with the pastry so that it comes about ½-inch higher than the muffin tin and chill the lined tin while preparing the filling.

Filling

1 cup Unsalted Butter
¾ cup Brown Sugar
¾ cup Maple Syrup
2 eggs
2 tsp vanilla
¼ tsp salt
3 Tbsp – 1/3 cup flour (use more for thicker tarts)

Toppings

½ cup Chopped Pecans
½ cup Chopped Bacon

Directions

In bowl, whisk the eggs with the maple syrup, vanilla and salt and set aside.

Stirring continually melt the butter in a saucepot over medium heat until it starts to turn brown. Add brown sugar and continue stirring until the mixture returns to a boiling. Remove the pot from the heat.

Slowly pour in the hot sugar mixture over cold mixture while whisking constantly until incorporated. (Do not combined to quickly or the eggs with cook.) For thicker tarts whisk in flour. Ladle filling into each prepared shell and sprinkle topping choice.

Bake the tarts for 10 minutes at 400 F, then reduce the oven temperature to 375 F and bake for an additional 10-15 minutes, until the filling is bubbling and the crust edges have browned. Cool the tarts in the tin and after about 5 minutes, carefully twist them around in the pan to prevent sticking and keep them in the pan until completely cooled. The butter tarts should be stored refrigerated but are best served at room temperature. The tarts can be stored chilled for up to 3 days.

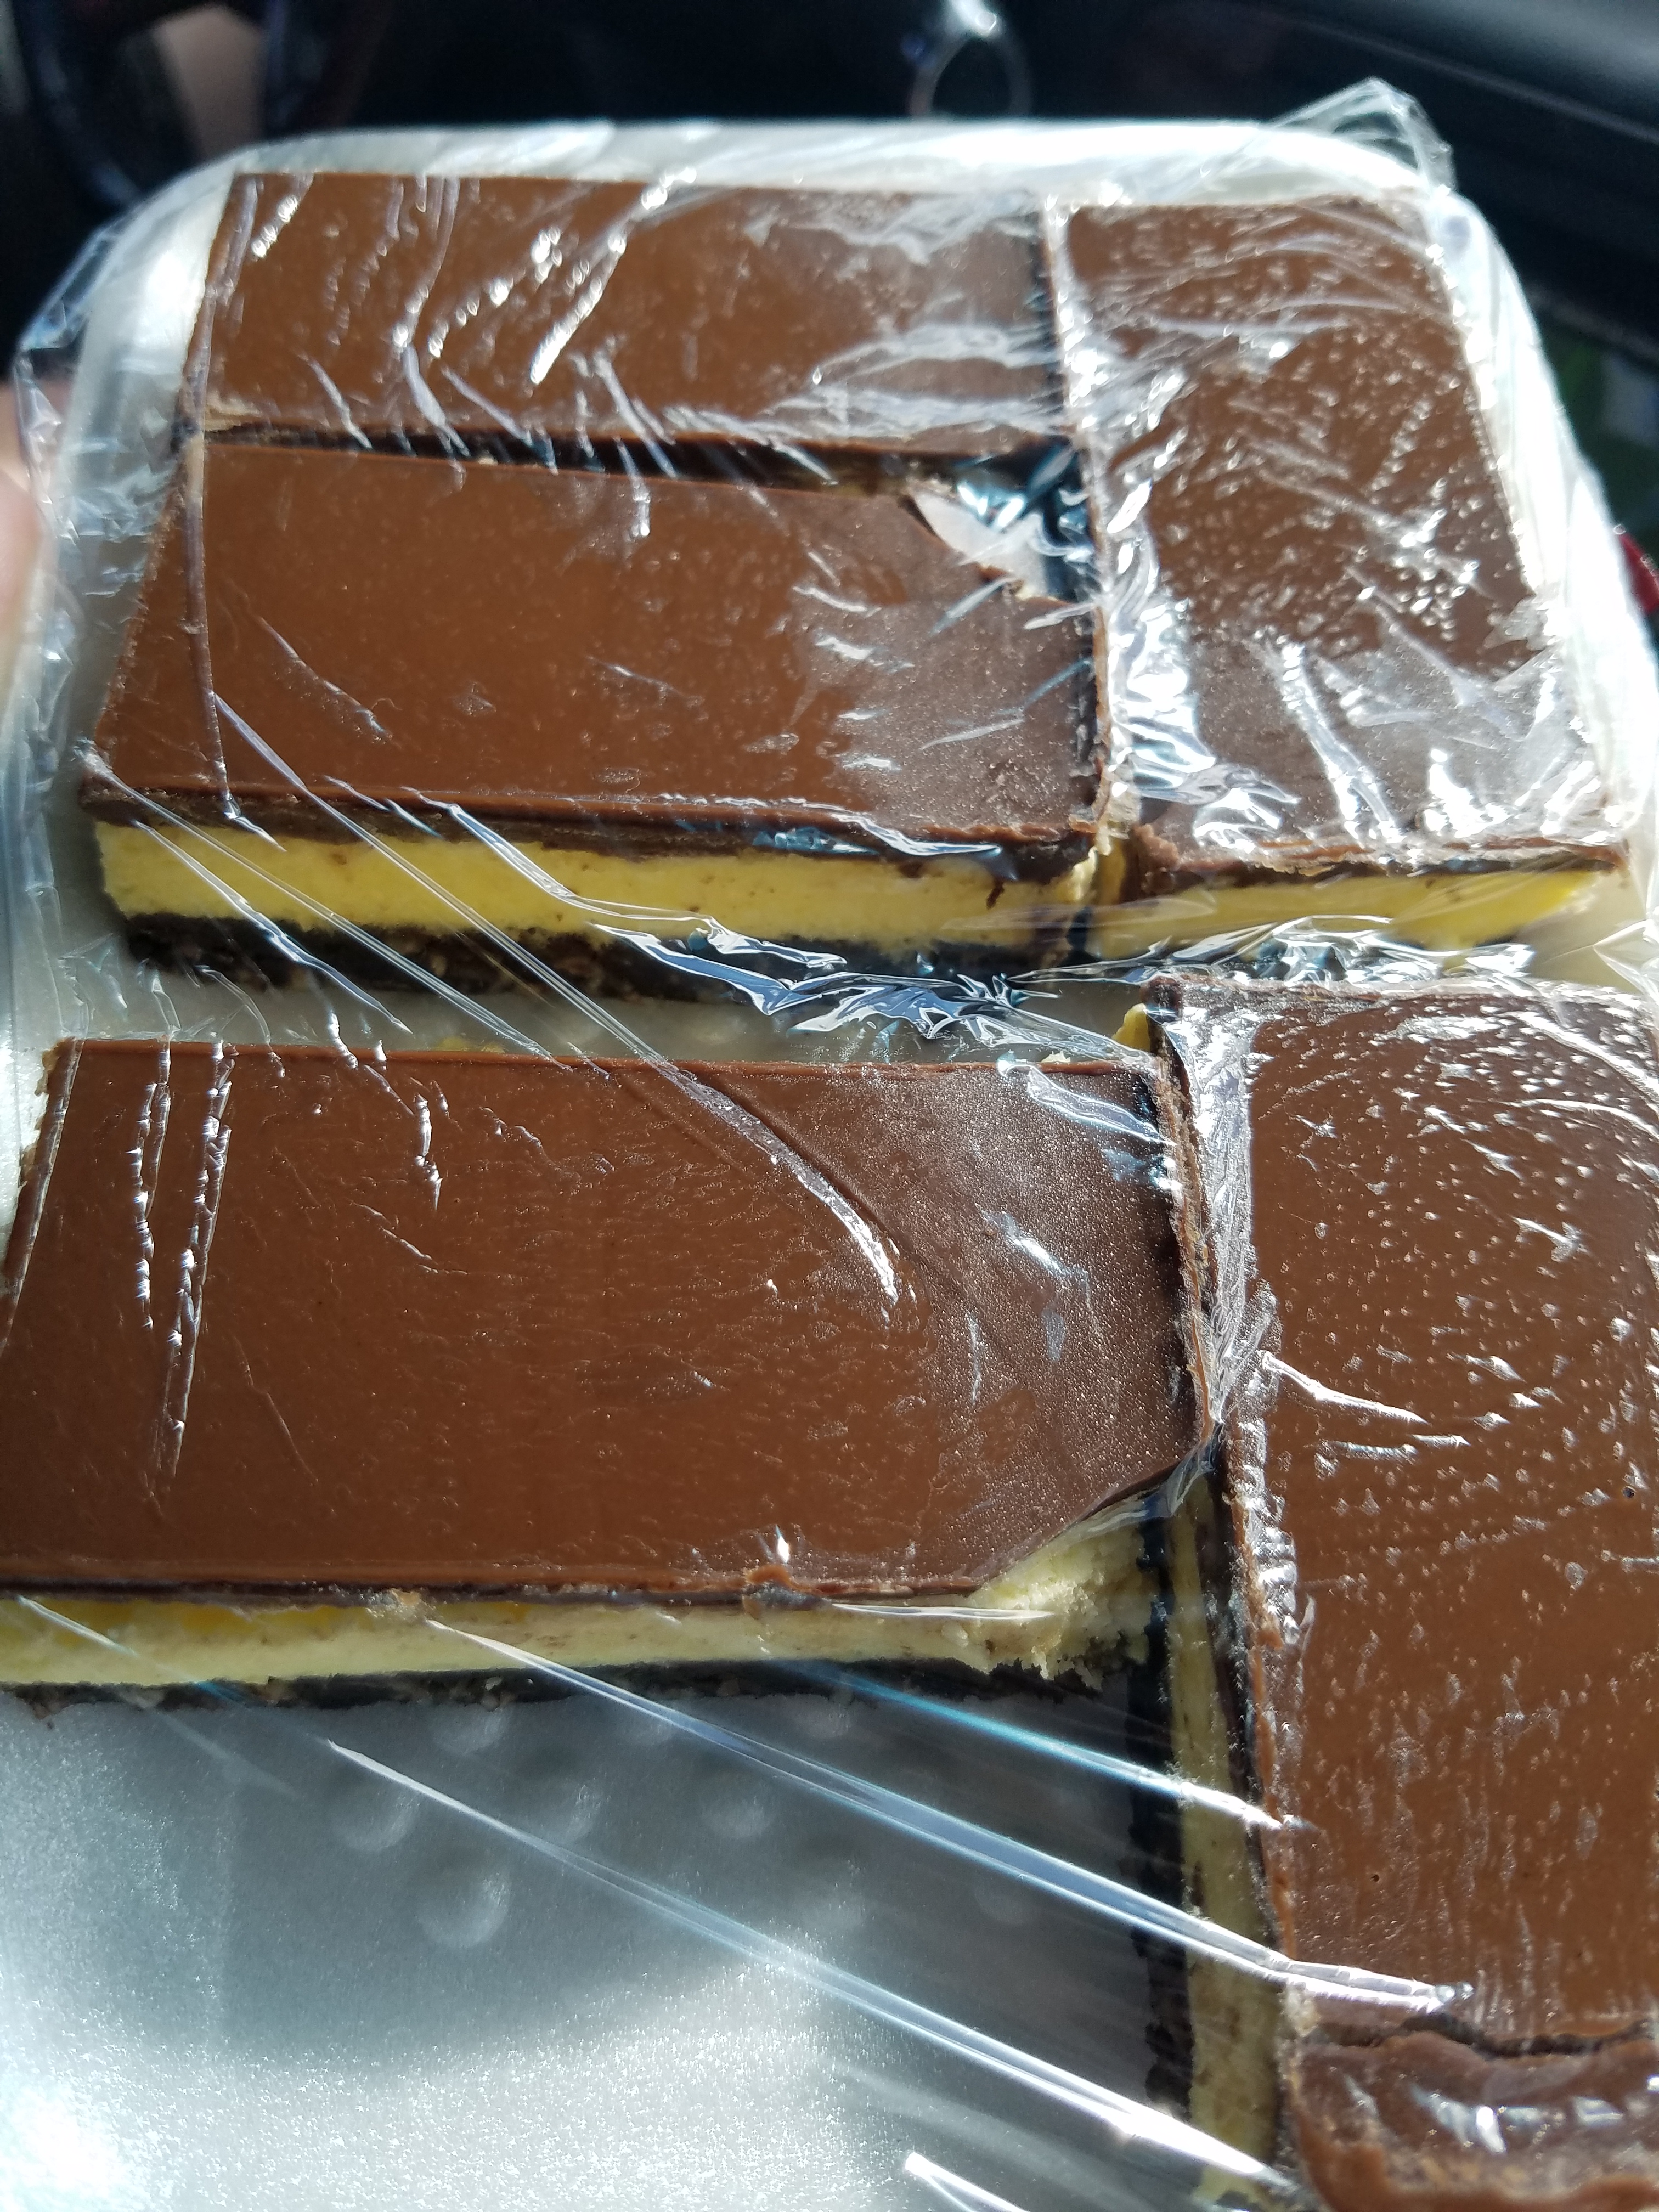
Variation Butter Tart Bars

Make ½ a batch of the pastry. Divide in half and press into 2 – 9×13 pans. Refrigerate while you preparing the filling. Preheat the oven to 375 degrees. Divided the filling in half and top as desired. Bake for 20 minutes. Cool the tarts in the tin and after about 5 minutes, carefully go around in edges of the pan to prevent sticking and keep them in the pan until completely cooled. The butter tarts should be stored refrigerated but are best served at room temperature. The tarts can be stored chilled for up to 3 days.

Choffy Protein Balls

We are athletic at our house and have experimented with different protein drinks, bars, and balls for both energy and recovery. These protein balls are my daughters favorite after a hockey game. My daughters favorite or almond, my sons are peanut butter, and mine are combination of almond and peanut butter or cashew. I enjoy them before and after workouts.

Choffy is brewed cocoa which promotes Lean Muscle Mass Growth. How? There is a compound in the cocoa bean called Epicatechin and when ingested help to increase follistatin levels in your body.  What does that mean?  It means that with higher follistatin levels your body can produce muscle.  Muscle burns calories, which in turn helps you to maintain body balance.

Ingredients:

1 cup Brewed Choffy Grinds
3 cups Oats
1/4 cup Whey Protein or Protein Powder
1 1/2 cups Natural Nut Butter (Almond, Peanut Butter, or Cashew)
3/4 cup Honey
1/2 cup Brewed Choffy

Directions:

Combined oats, Choffy grinds, and protein powder in a mixing bowl.  Stir in nut butter. In a medium sauce pan cook Choffy and honey over medium heat until boiling. Pour hot ingredients over other ingredients and mix well. Use a cookie scoop to make uniform size ball. Scope out onto a cookie sheet. Form into balls and refrigerate for 1 hour to set up. Store in an airtight container in the refrigerator.


Choffy Gelatin

Choffy is brewed cocoa. We love using it in recipes. This recipe was formulated at the request of my oldest daughter. The third time was the charm. We have tried it with Strawberry, Cherry, Raspberry, and Orange gelatin. We serve it with whipping cream.

Ingredients:

1 – Envelope unflavored gelatin
1 – 6 oz box of flavored gelatin (Strawberry, Cherry, Raspberry, or Orange)
2 1/2 cups of Hot Choffy
1/2 cup of Water
2 cups of Cold Water

Directions:

In a 9×13 pan bloom unflavored and flavored gelatin in 1/2 cup cold water. Add in Choffy and  dissolve gelatin completely. Add in cold water. Allow to set up in the refrigerator for 3-6 hours before serving. Top with Whip Cream and serve.


Choffy – 100% Natural BREWED CHOCOLATE drink!

In 2011 a friend introduced me to the most divine drink Choffy. I fell in love with it and so did my family. We drink it both hot and cold. Our current favorite is brewing equal parts IC French Roast, Nigeria Dark Roast, Volta Dark Roast, and Ecuador French Roast. We prefer brewing it in a french press, but you can also get it in K-cups. I love that there is nothing but 100% roasted cocoa beans in it. Each person can chose how they drink it; black, with a little honey, with cream, a pinch of salt, or with coffee creamer. We also love making protein shakes with cold Choffy as our liquid. I have not tried the French roasts yet, but I will be trying them them soon.

At the time they had a direct distribution program and so naturally I became a distributor so I could share it with others.  Since then they sell directly from their website https://www.choffy.com.

Choffy is made with cocoa beans that are roasted, ground and then packaged so that you can brew them just like coffee, but get all the health benefits of dark chocolate. Unlike coffee, Choffy supplies you with long-lasting energy throughout the day without the crash, jitters, or other negative effects of caffeine. Which means you can drink as much as you want, whenever you want.

Another thing I love about Choffy is that the grind are 100% Cocoa and are therefore edible. So  once they have been brewed we use them in recipes. I will be adding the recipes here so you can enjoy them too!

Each cocoa been has been carefully chosen for it’s different regions of the world for it flavor profiles.  Each variety comes in Medium Roast, Dark Roast, or French Roasts.

Ivory Coast is the original and signature Choffy origin.  These single estate cacão beans from the Ivory Coast have a lighter chocolate flavor with hints of natural grains and earthy notes.

Volta comes from premium cacão found in Ghana (West Africa), after years of searching. Volta boasts an exceptionally rich depth, yet smooth cocoa flavor.  You feel the chocolate fill your mouth with every sip.

El Sonado means the dreamed or dreamy.  This Choffy is just that, chocolaty, full flavored all packed together with one of the smoothest aftertastes that we have ever produced.

There are a number of different health benefits from dark chocolate. Here are just a few as listed is directly from the Choffy website.

Canadian Snacks and Confections

We were able to visit Alberta and British Columbia last week. Joseph was born in Calgary, so it was an opportunity for him to share his childhood with us. Our children and I now understand why Joseph misses candies, cookies, and chips from his childhood. Here are just a sample of some of the things we tried and fell in love with.


We have had the opportunity to try some of them prior to our trip, but others we tried for the first time while there.

Old Dutch Chips are amazing. Dill Pickle, Ketchup, Bacon, and Salt n Vinegar are our favorites. Popcorn Twists are also a tasty snacks.

Wagon Wheels and Viva Puffs are AMAZING!!!  I wish we would have bought more to bring home. . Canadian Oreos are so much better then the American version. All Dare brand cookies are off the charts in my book.

Tigertail Ice Cream is something Joseph has missed. It is Orange Ice Cream with Licorice Ribbons in it to resemble a Tiger. I was not so sure about it, but I was awesome. I now understand why he missed it.

We all have different candy favorites ranging from Smarties, Coffee Crisp, Mr. Big, Aeros, and Canadian Kit Kats. They have amazing black licorice candies like black licorice jarbreakers, licorice babies, and Bassets. There red licorice nibs and ropes are also very good.

We also enjoyed Butter Tarts and Pecan Tarts which I will be trying to duplicate. My favorite came from the Bun King Bakery which is where we also got Nanaimo Bars which I will also be working on the recipe for. (I have the recipe Joseph’s family uses, but I now want to play with it.)

Luckily, we did enough hiking and walking on our trip that all of the extra snacking did not add up to weigh gain.

We were able to bring some of our favorites back and we will be savoring them over the next year.

Salty Buns

My mom taught me how to make breads and rolls when I was around nine or ten years old. When I was 12 years old one of my weekly tasks was to make the bread for our family for the week. I would make 4 to 6 loaves on a Saturday based on the needs of the family that week. Since then I have enjoyed learning and playing around with bread recipes. This is a recipe of my own and we love it as a hamburger bun.

Ingredients

2 T Dry Active Yeast
1/4 cup Honey
1/2 cup Olive Oil
1 cup Luke Warm Water
1 cup Potato Flakes
1 cup Hot Water
1 tsp Salt
1 Egg
4-5 cups of Flour
1 cup Salted Butter Melted

Directions

In a large bowl combined yeast, honey, oil, and luke warm water. Mix for 2-3 minutes. Allow to raise for 15 minutes.

Combined potato flakes, hot water, and salt. Stir until fluffy. Add in egg and combined.

Add potato mixture to the yeast mixture and stir for 3 minutes. Add in flour 1/2 cup at a time until it is not sticky.

Allow to raise for 2-6 hours stirring down every 30 to 60 minutes. 


Pre-heat oven to 400 degrees. Brush baking dish or pan with melted butter. After raising turn out onto a floured pastry mat and knead for 2 minutes. Free form the rolls into balls or roll out to 1/2 to 3/4 in thick and cut out with a round biscuit cutter.  Place on pan and brush melted butter on top. Raise for 10 minutes. Bake for 20 minutes until golden brown.


Parmesan Chicken

Parmesan Chicken is an Italian classic. I played around until we got it just the way we wanted. We serve it over pasta with salad, over Parmesan Crusted Cauliflower,  or on its own with a side of garlic bread & salad.

Ingredients

2 Chicken Breasts
1 cup Bread Crumbs
1 cup Parmesan Cheese
2 Eggs
2 T Olive Oil
2 T Water
1/4 cup Olive Oil
1 Can Hunts Four Cheese Spaghetti Sauce
1-2 cups Shredded Cheese

Directions:

Pound the chicken out to flat to approximately 1/2 inch thick. Mix together bread crumbs and parmesan cheese in bowl. Beat together eggs, 2 T olive oil, and water.  Cut chicken breasts in 2 or 3 portions each. Dredge each piece first in the bread crumb mixer. Start heating heavy skillet on medium high heat with 1/4 cup olive oil. Pre-heat oven to 350 degrees. Dredge each piece of chicken in egg mixture followed by the bread mixture again. Pan fry for 3 minutes on each side. Pour 1/2 cup of sauce in the bottom of a casserole dish. Place the pan fried chicken on top of spaghetti sauce and then top with the remainder of the spaghetti sauce.  Bake for 25 minutes. Top with cheese return oven 3-5 minutes until melted.

Black Forest Cake

In my living memory my Mom made this cake for Birthdays, special occasions, and Thursdays. My Dad and I share a Birthday and since this was his favorite cake this was the cake we always had. Last year I made it for LeeAnn’s Birthday. That may be because it is the only cake I know how to make.

Ingredients

3/4 cup Margarine (NOT BUTTER or OIL)
1 2/3 cups Sugar
2 Eggs
2 1/2 cups Flour
2 tsp Baking Soda
1 tsp Salt
5 Heaping Tablespoons of Cocoa
1 1/2  cup Ice Cold Water
1 tsp Vanilla
Zest from one large Orange

Whipping Cream*
1 can Cherry Pie Filing
1 small jar Maraschino Cherries

Directions

Preheat oven to 325 degrees. In a mixer cream together butter, sugar, vanilla for 2 to 3 minutes. Add eggs and mix 2 to 3 minutes. In a separate bowl combined flour, salt, baking soda, and cocoa. Add dry ingredients, cold water, and orange zest in to the mixing bowl. Mix on slow until all ingredients incorporate in to batter. Mix on high speed for 2-4 minutes. Pour batter into greased 9 inch round pans. Bake for 45 – 60 minutes until a toothpick comes out dry. Turn out onto cooling racks

*Whipping Cream Ingredients

2 cups Whipping Cream
1/4 cup Sugar
1 T Vanilla

Directions

Add all ingredients into mixer. Whip on high until it forms stiff peaks.

Assembly

Cut cake rounds so they are flat on the top. Place the first cake on to a cake tray. Cover with pie filling make sure it does not run over the edge. Top with second cake layer. Cover with whipping cream. Decorate with maraschino cherries. Refrigerate if not serving immediately.


Spinach Bacon Quiche

I love quiche in general, but never found one that had a lot of vegetables in it so I made one. It is a family favorite for any meal. Sometimes we eat if for breakfast and other times we eat it for dinner. I have removed the vegetables and just made Bacon Quiche.

Ingredients

3 frozen Pie Shells
10 large eggs, beaten
8 oz Cream Cheese at room temperature
1 cups heavy cream
2 cups chopped fresh baby spinach, packed
1 cup Bacon Real Bits
1/2 cup chopped mushrooms
1/4 cup dried Onions
1 tsp Minced Garlic
1 cup Mozzarella Cheese Shredded
1 cup Swiss cheese Shredded

Directions

Prepare the pie shells as per the directions on the package for a non-baked pie. Remove from oven and turn oven to 425 degrees.

Beat together eggs, whipping cream and cream cheese. Stir in remaining ingredients. Divide in to the 3 prepared pie shells evenly.

Bake at 425 degrees for 40 to 50 minutes until medium brown and a toothpick comes out clean.

Variation

1- Use refrigerated pie crust cut and press into a large casserole dish (approximately 11×14). Bake as directed on the package for a non-baked pie.

Yorkshire Pudding

My father-in-law is from England, so Yorkshire Pudding was a staple in their home. I know there are several recipes for it, but this is the one I learned from my Mother-in-law.

Ingredients

2 cups Milk
3 Eggs
1 1/2 cups Flour
1/2 tsp Salt
About 1/4 cup rendered beef or pork fat, olive oil or melted butter

Directions

Pre-heat oven to 425 degrees. In the mixer beat together milk and eggs. Add flour and salt and blend until smooth. Batter should rest for 2 house in the refrigerator in a non metal container.  In muffin tin place 1/4 – 1/2 teaspoon of fat. Heat muffin tin with the fat in it for 5 minutes. Remove batter from refrigerator and stir with a wooden spoon. Pour batter into hot tins, filling each tin 3/4 full. Bake for 45 minutes or until golden brown. Serve with gravy.

Variation – Toad in the Hole

Brown 1 lb Sausage in a cast iron skillet. (We prefer Irish Sausage) Pre-heat oven to 425 degrees. Remove batter from refrigerator and stir with a wooden spoon. Pour batter into hot tins, filling each tin 3/4 full. Bake for 45 minutes or until golden brown. Serve with gravy.